Many different processes were used to create each individual part of the test unit and first article unit. The first step in the process was to create the top panel which was the main playing surface.
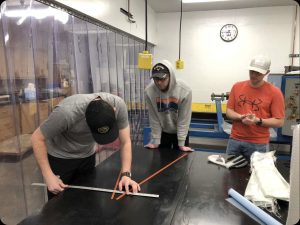
In order to create the grooves in the surface of the board, silicone strips were laid down prior to the wet hand layup. Many measurements had to be made to ensure that the strips would converge on the center of the large hole at the same angle to create a symmetrical playing surface. The next step was to wet hand lay up the carbon fabric and the glass fabric.

Above is an image of the Carbon Cornhole team laying the glass fabric and wetting it out with a West systems 105/206 resin system to create the top piece of the board assembly. After this, the foam core was inserted between the front and back panels of the top panel.
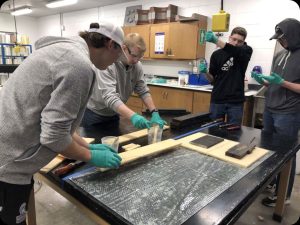
The team is laying the foam onto the front of the board and securing it with weights and allowing it to cure. After the board was assembled, it was cut to its finished size and epoxy was poured over the channel which would hold the lights. After epoxy was poured, the surface was sanded and finished.

After the surface was sanded and finished, the other parts of the assembly were created. This includes the parts such as the front, back, sides, and legs of the assembly as well as the 3D printed risers and feet.
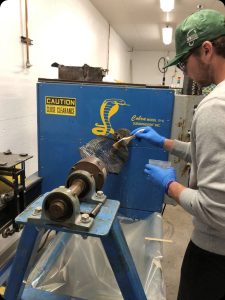
The image above shows the assembly of a front piece of the board. It was created by wrapping a carbon fiber sleeve around high density foam and wetting it out with a 2-part epoxy resin system.

The last major fabrication process was the 3D printing of the feet and risers which would be on the smaller “skill holes”. These were then added to the final assembly.
The unit was completely assembled using a fast curing adhesive system and the holes were cut into the surface by using a router and hole cutting fixture.
The final test unit and assembly can be seen more under Final Product.