Manufacturing Process
Wet-Hand Lay Up
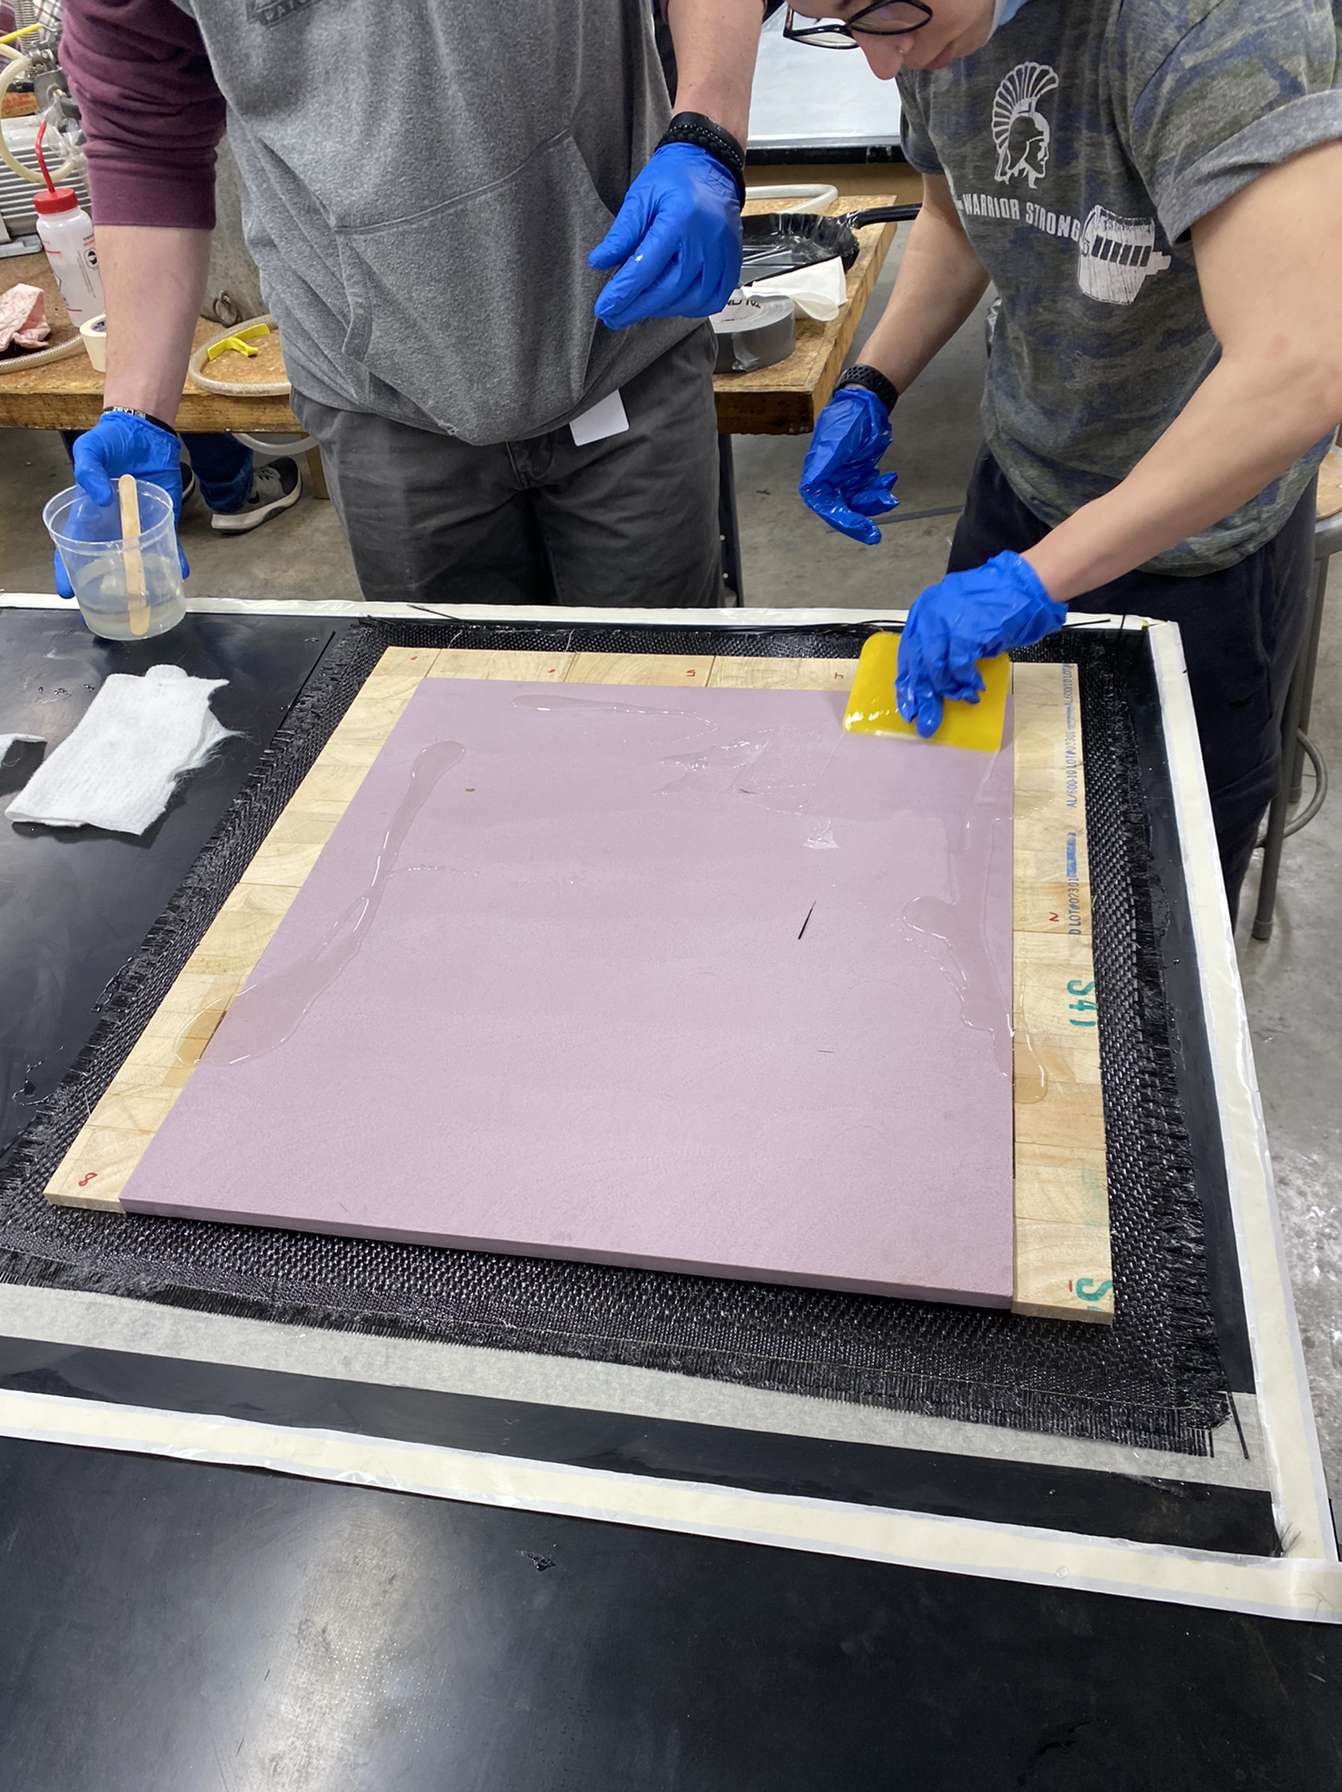
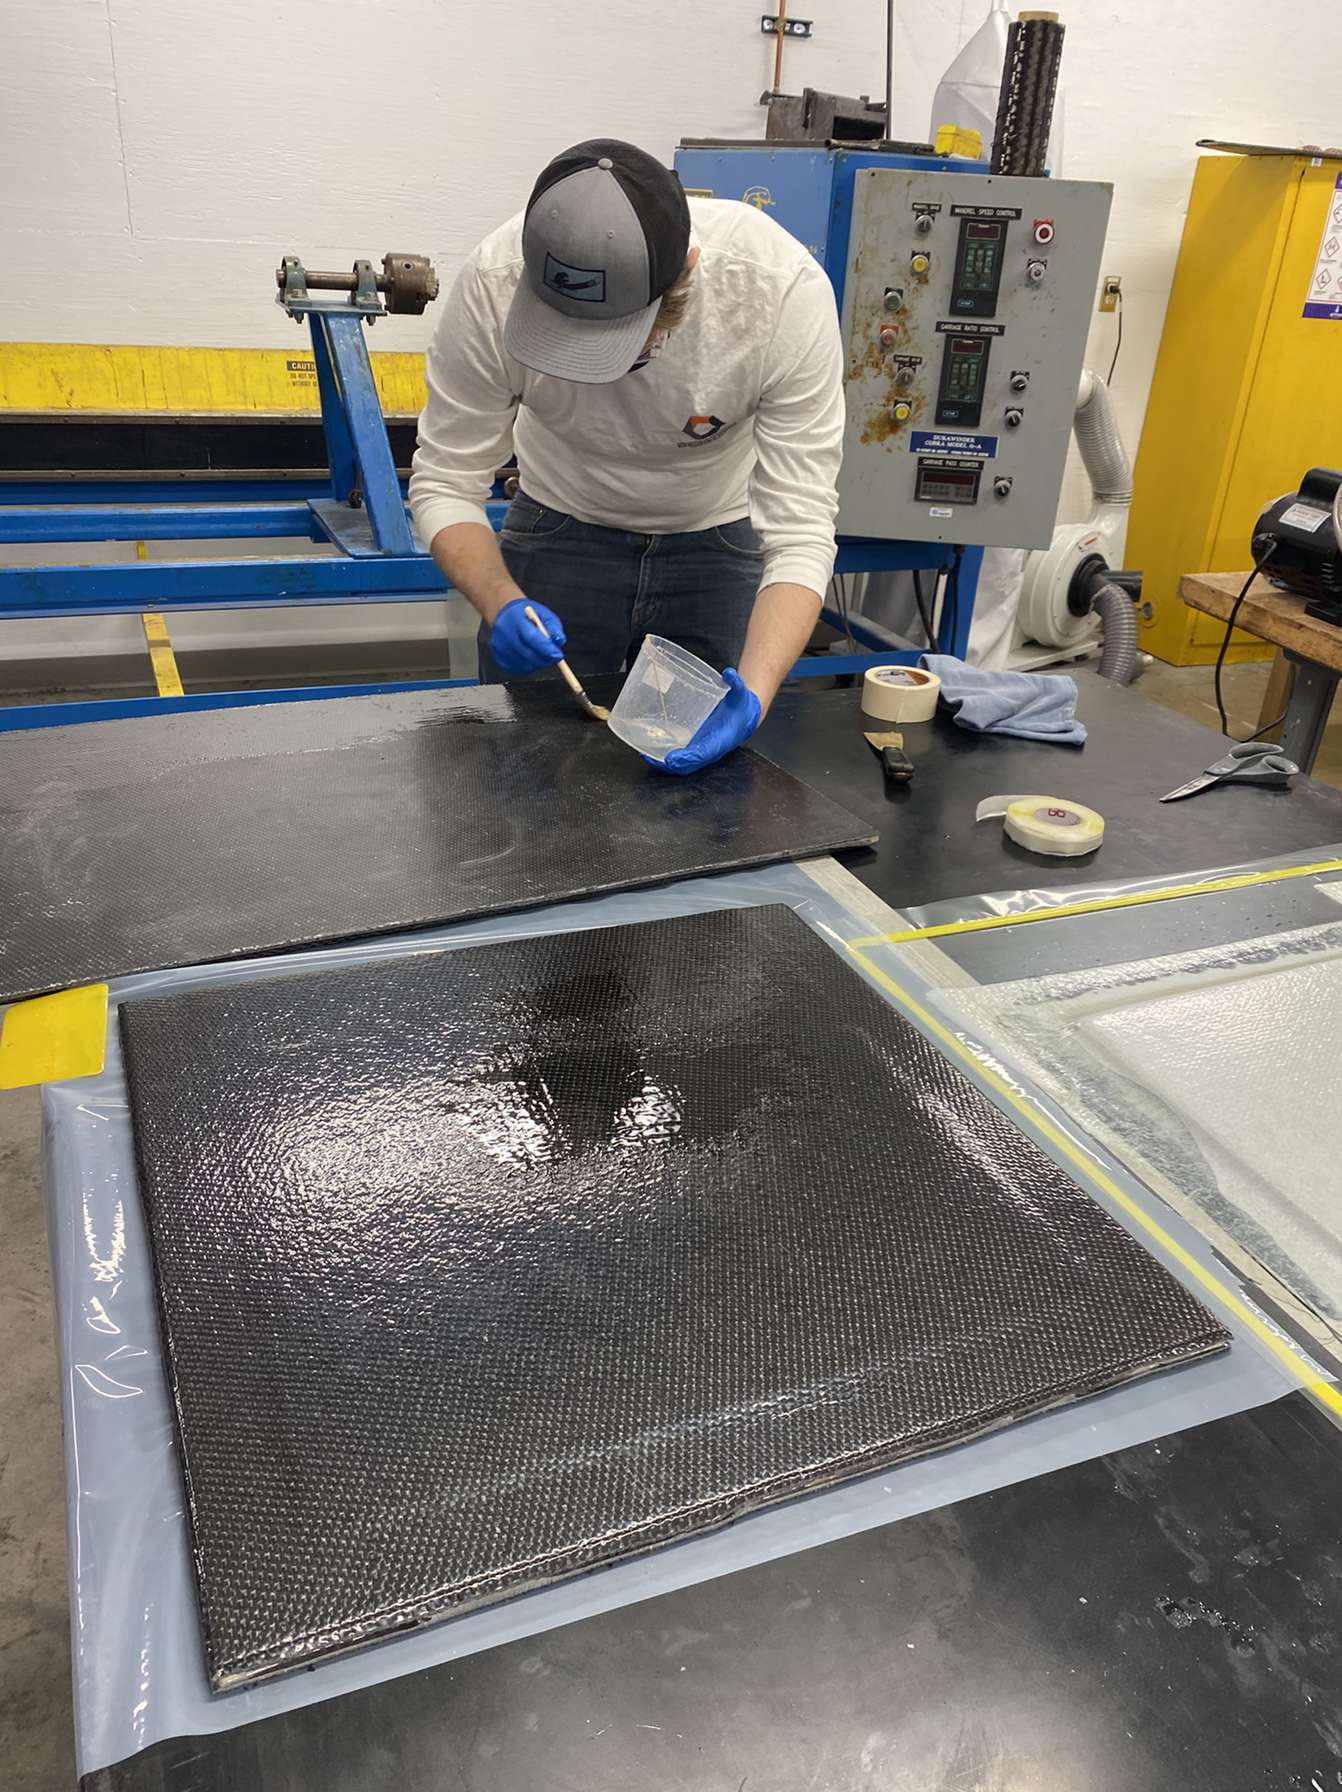
The manufacturing process of ” wet-hand layup” involves manually laying down individual layers or “plies” of a material and hand applying resin. The material used in this project was carbon fiber plies. These plies consist of thousands of fibers bundled into tows and are arranged in a woven pattern.
What we do
The main parts of the sidecar body were constructed utilizing composite sandwich panels. These panels were all created via the wet-hand layup method.
Choose Material for Plies
Through analysis of available and appropriate materials we chose woven carbon fiber mats to act as the surface plies in our laminate. We chose this material because of it’s high strength to weight ratio and superior mechanical properties.
Choose Number of Plies
A total of 4 woven carbon fiber plies were determined to be efficient enough for to service our design. This meant using two plies on the bottom and two plies on the top of the foam core.
Choose a Core
An XPS Foam Core was chosen because of its ability to be infused with resin without degradation. The foam core is lightweight and helps achieve the extra thickness and flexural strength the plies would not provide alone. On the edges of the foam, Balsa wood was added in order to aid future assembly.
Surface/Material Preparation
Before starting, the carbon fiber plies, foam, and balsa wood must be cut to appropriate size. Then the table surface is cleaned with acetone and wax is applied as a release agent to help the finished part come off the table after completion of the layup.
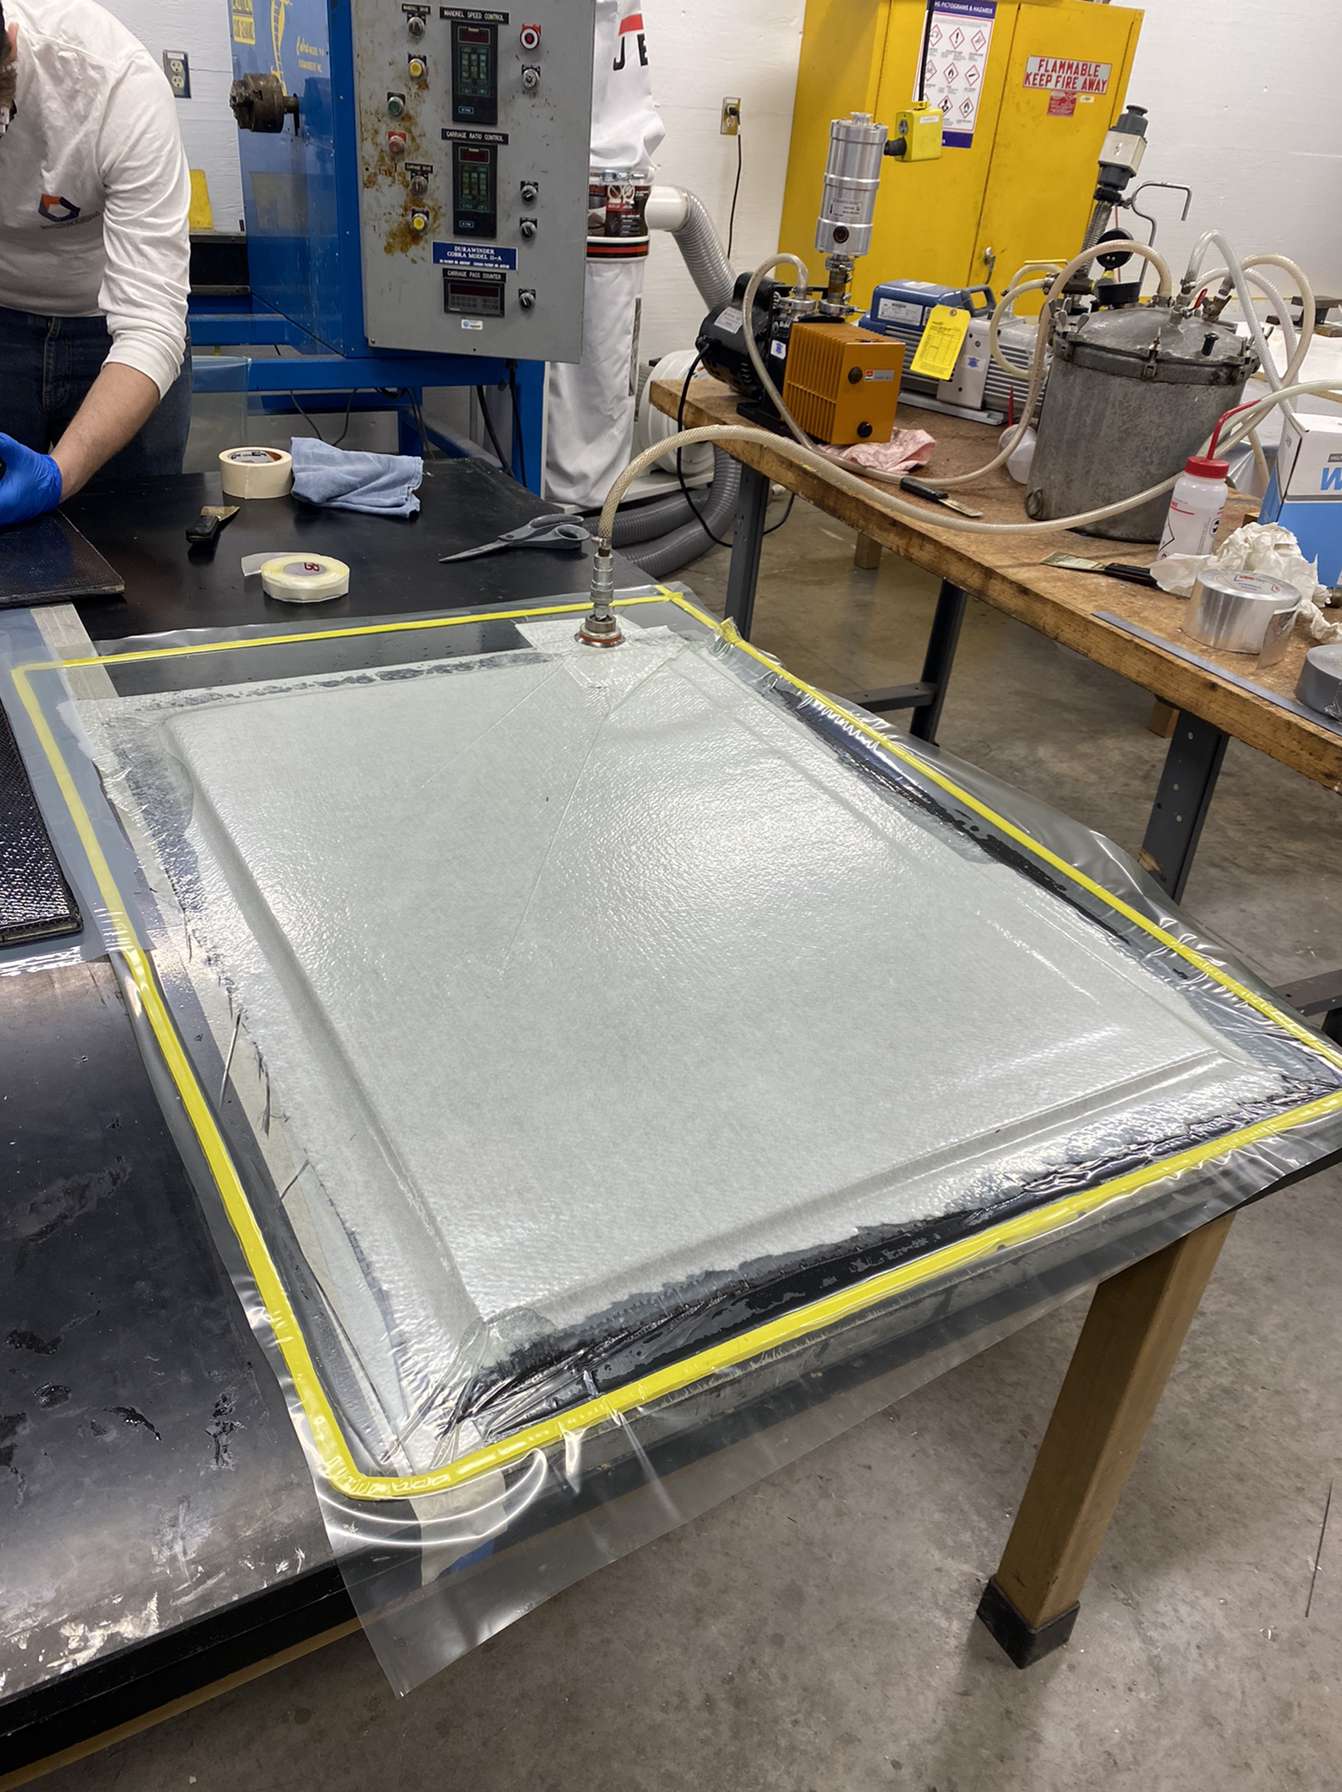
Vacuum Bagging
The vacuum bag process of a wet hand layup consists of multiple layers that assist the compression and curing process of the composite. Those layers consist of a vacuum bag, breather, non-perforated, perforated and bleeder layer. Tacky tape is used around the perimeter of the bagging area in order to achieve a complete, airtight seal.
Finished Panel
After the part has a sat under compression for the desired amount of resin cure time , it can be removed from the vacuum bag and is ready for more refined finishing for future assembly.
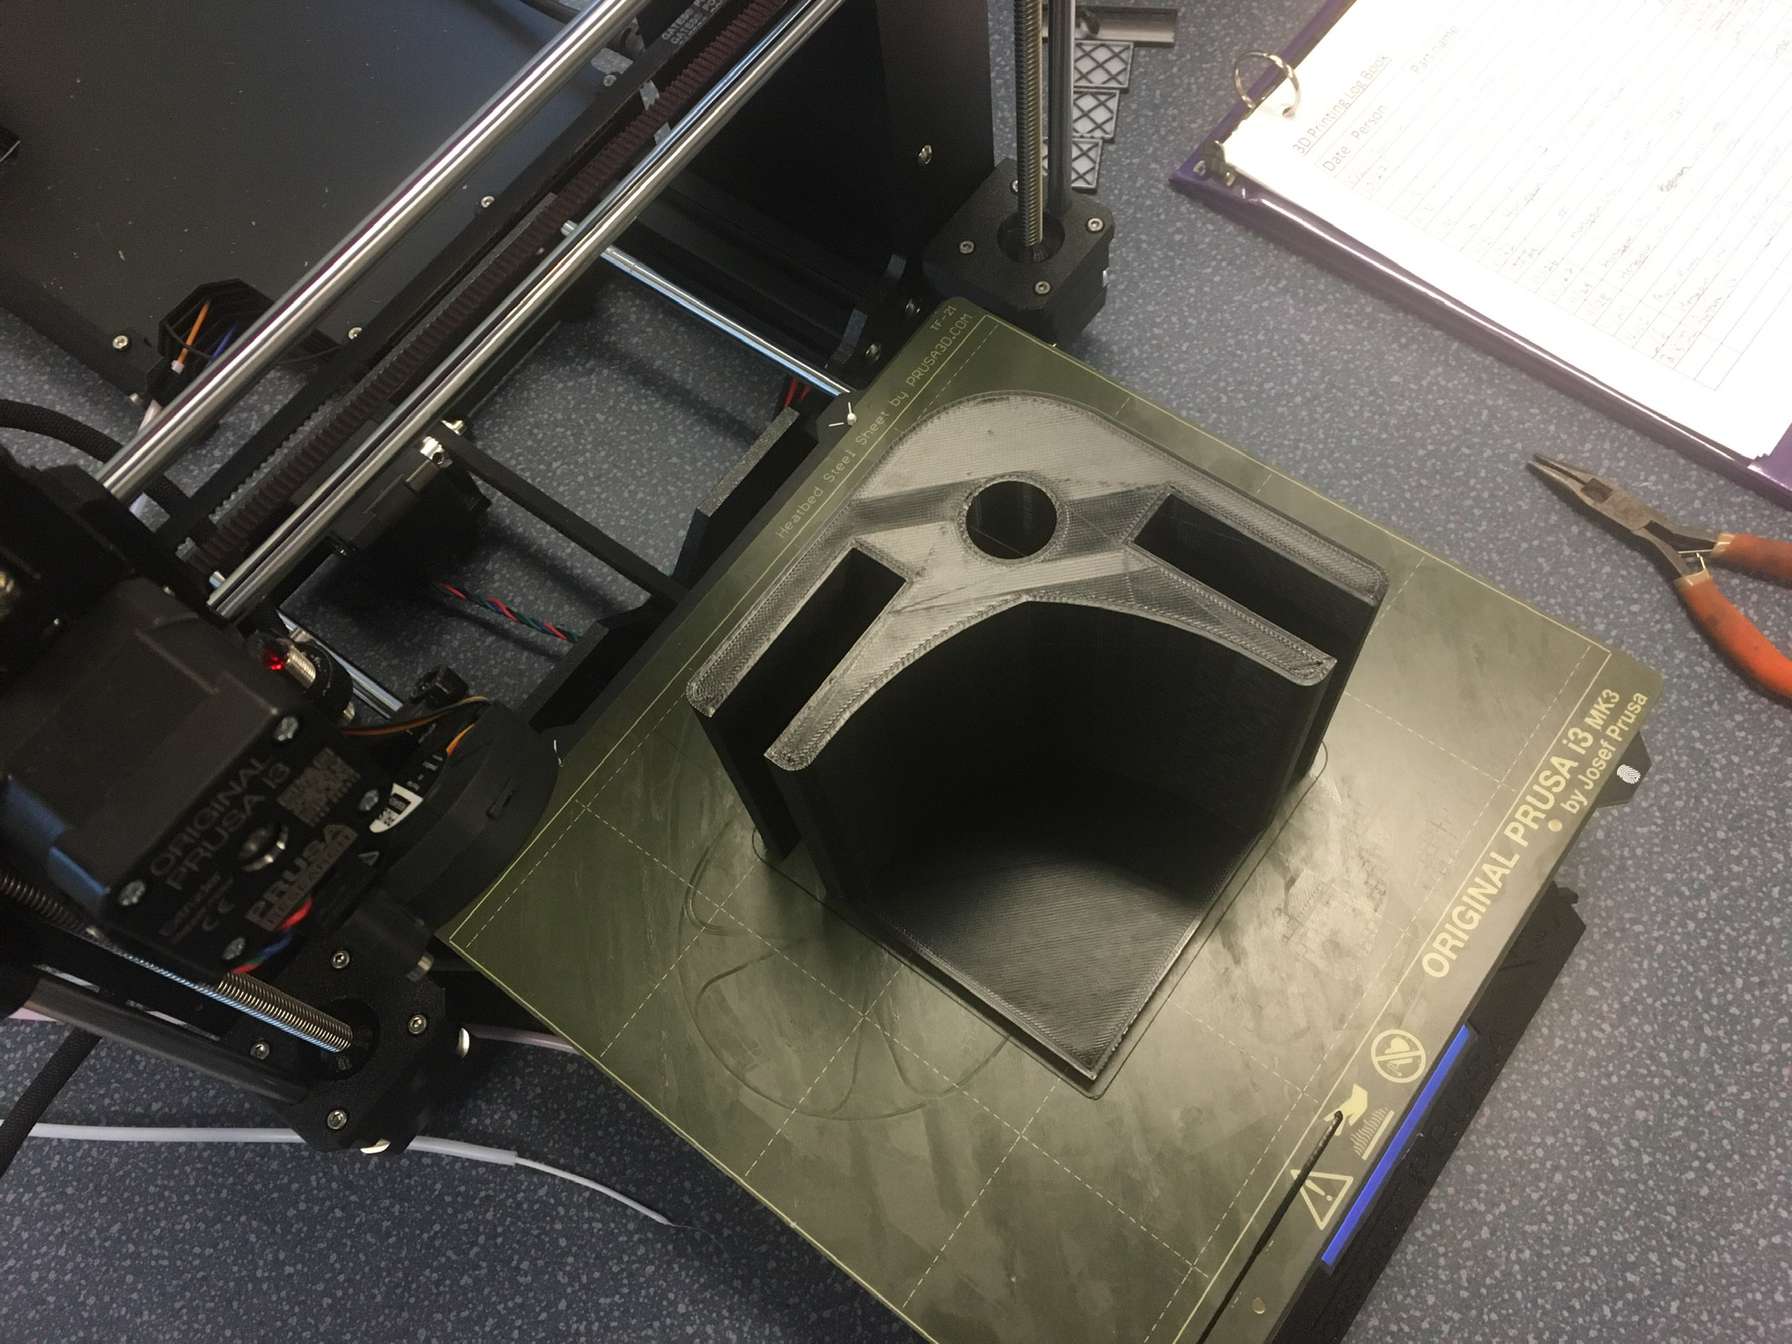
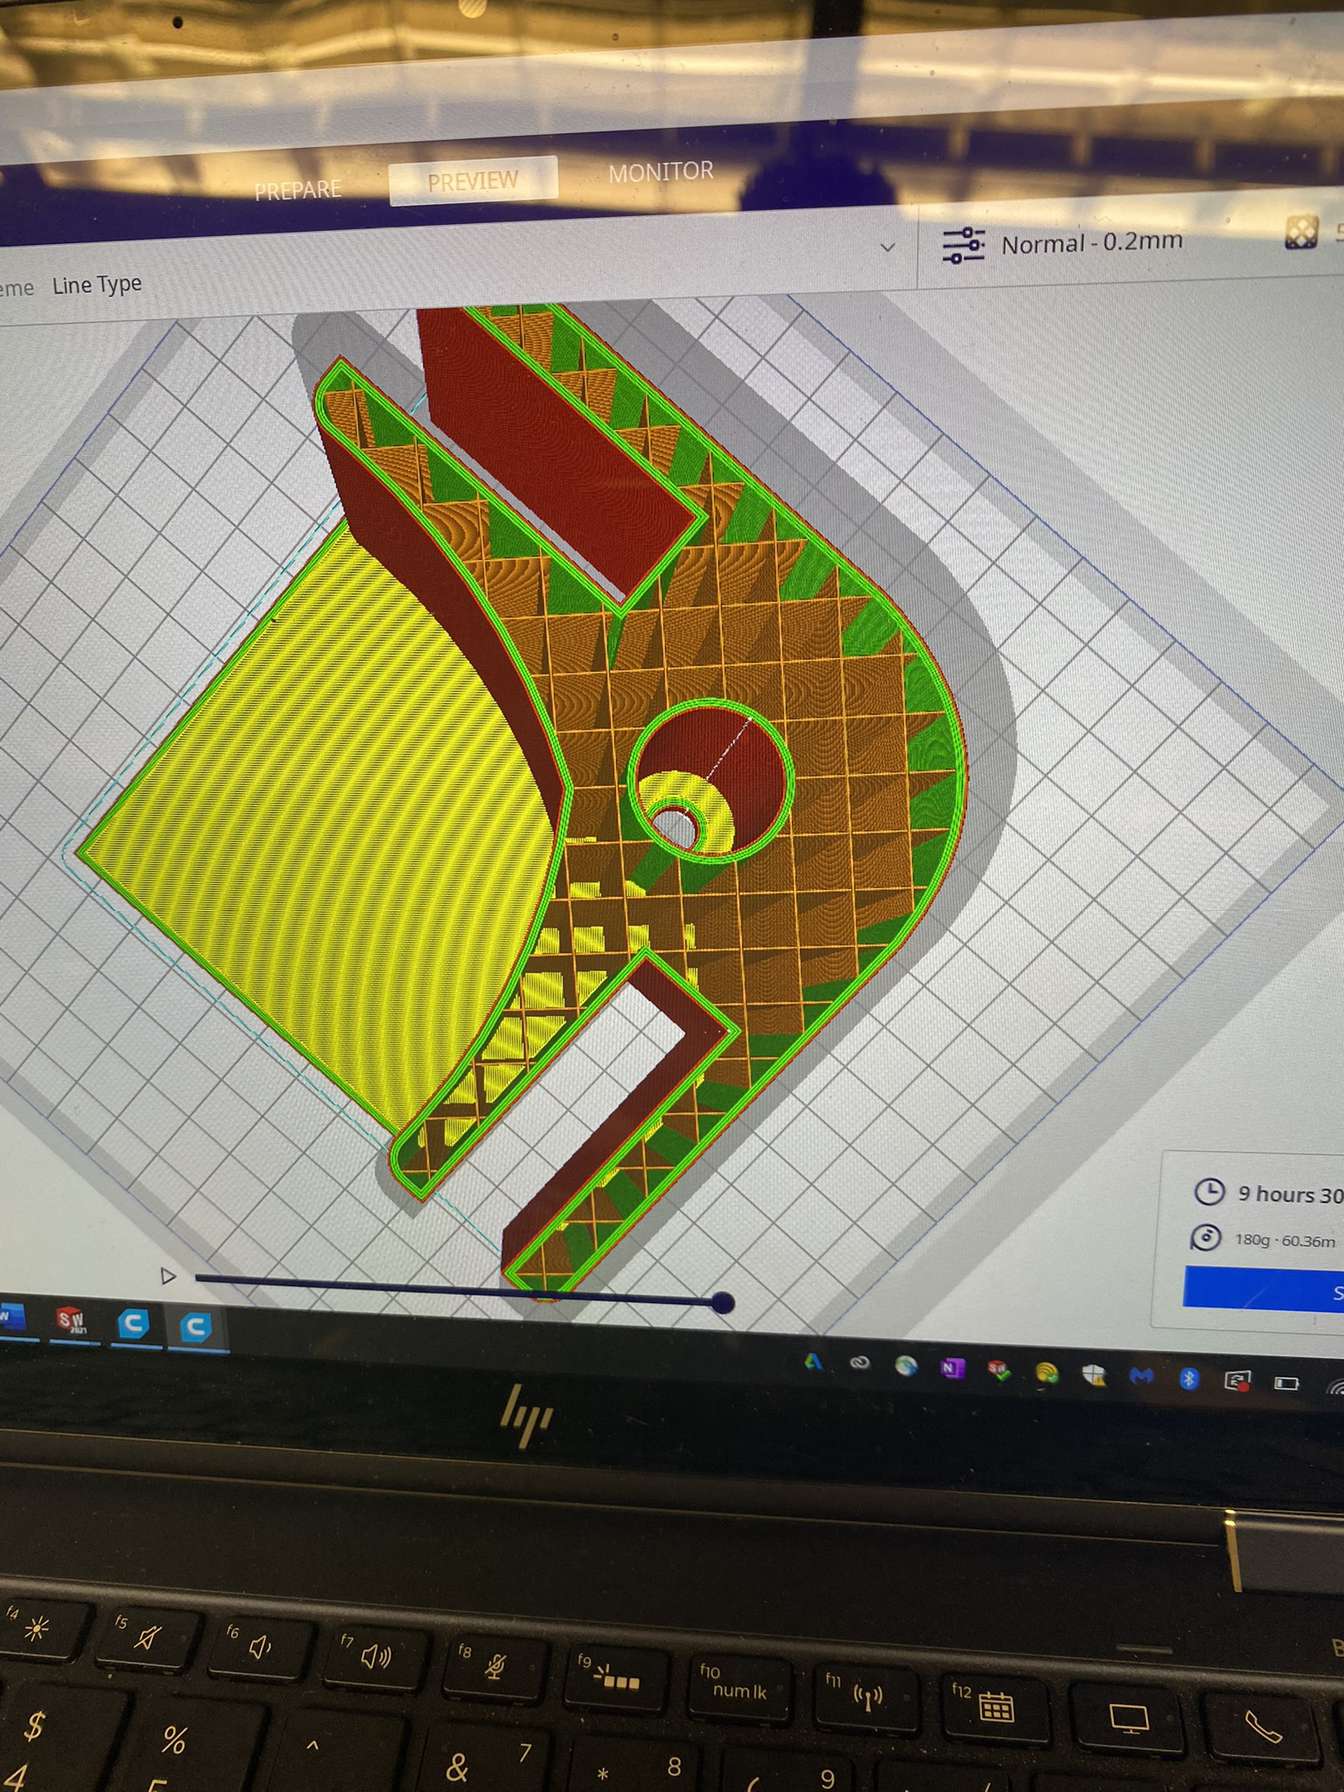
3d Printed Parts
With the use of a C.A.D. software known as Solidworks, we were able to design and fabricate parts that could then be manufactured utilizing Onyx carbon reinforced Nylon filament on a Markforged 3D printer
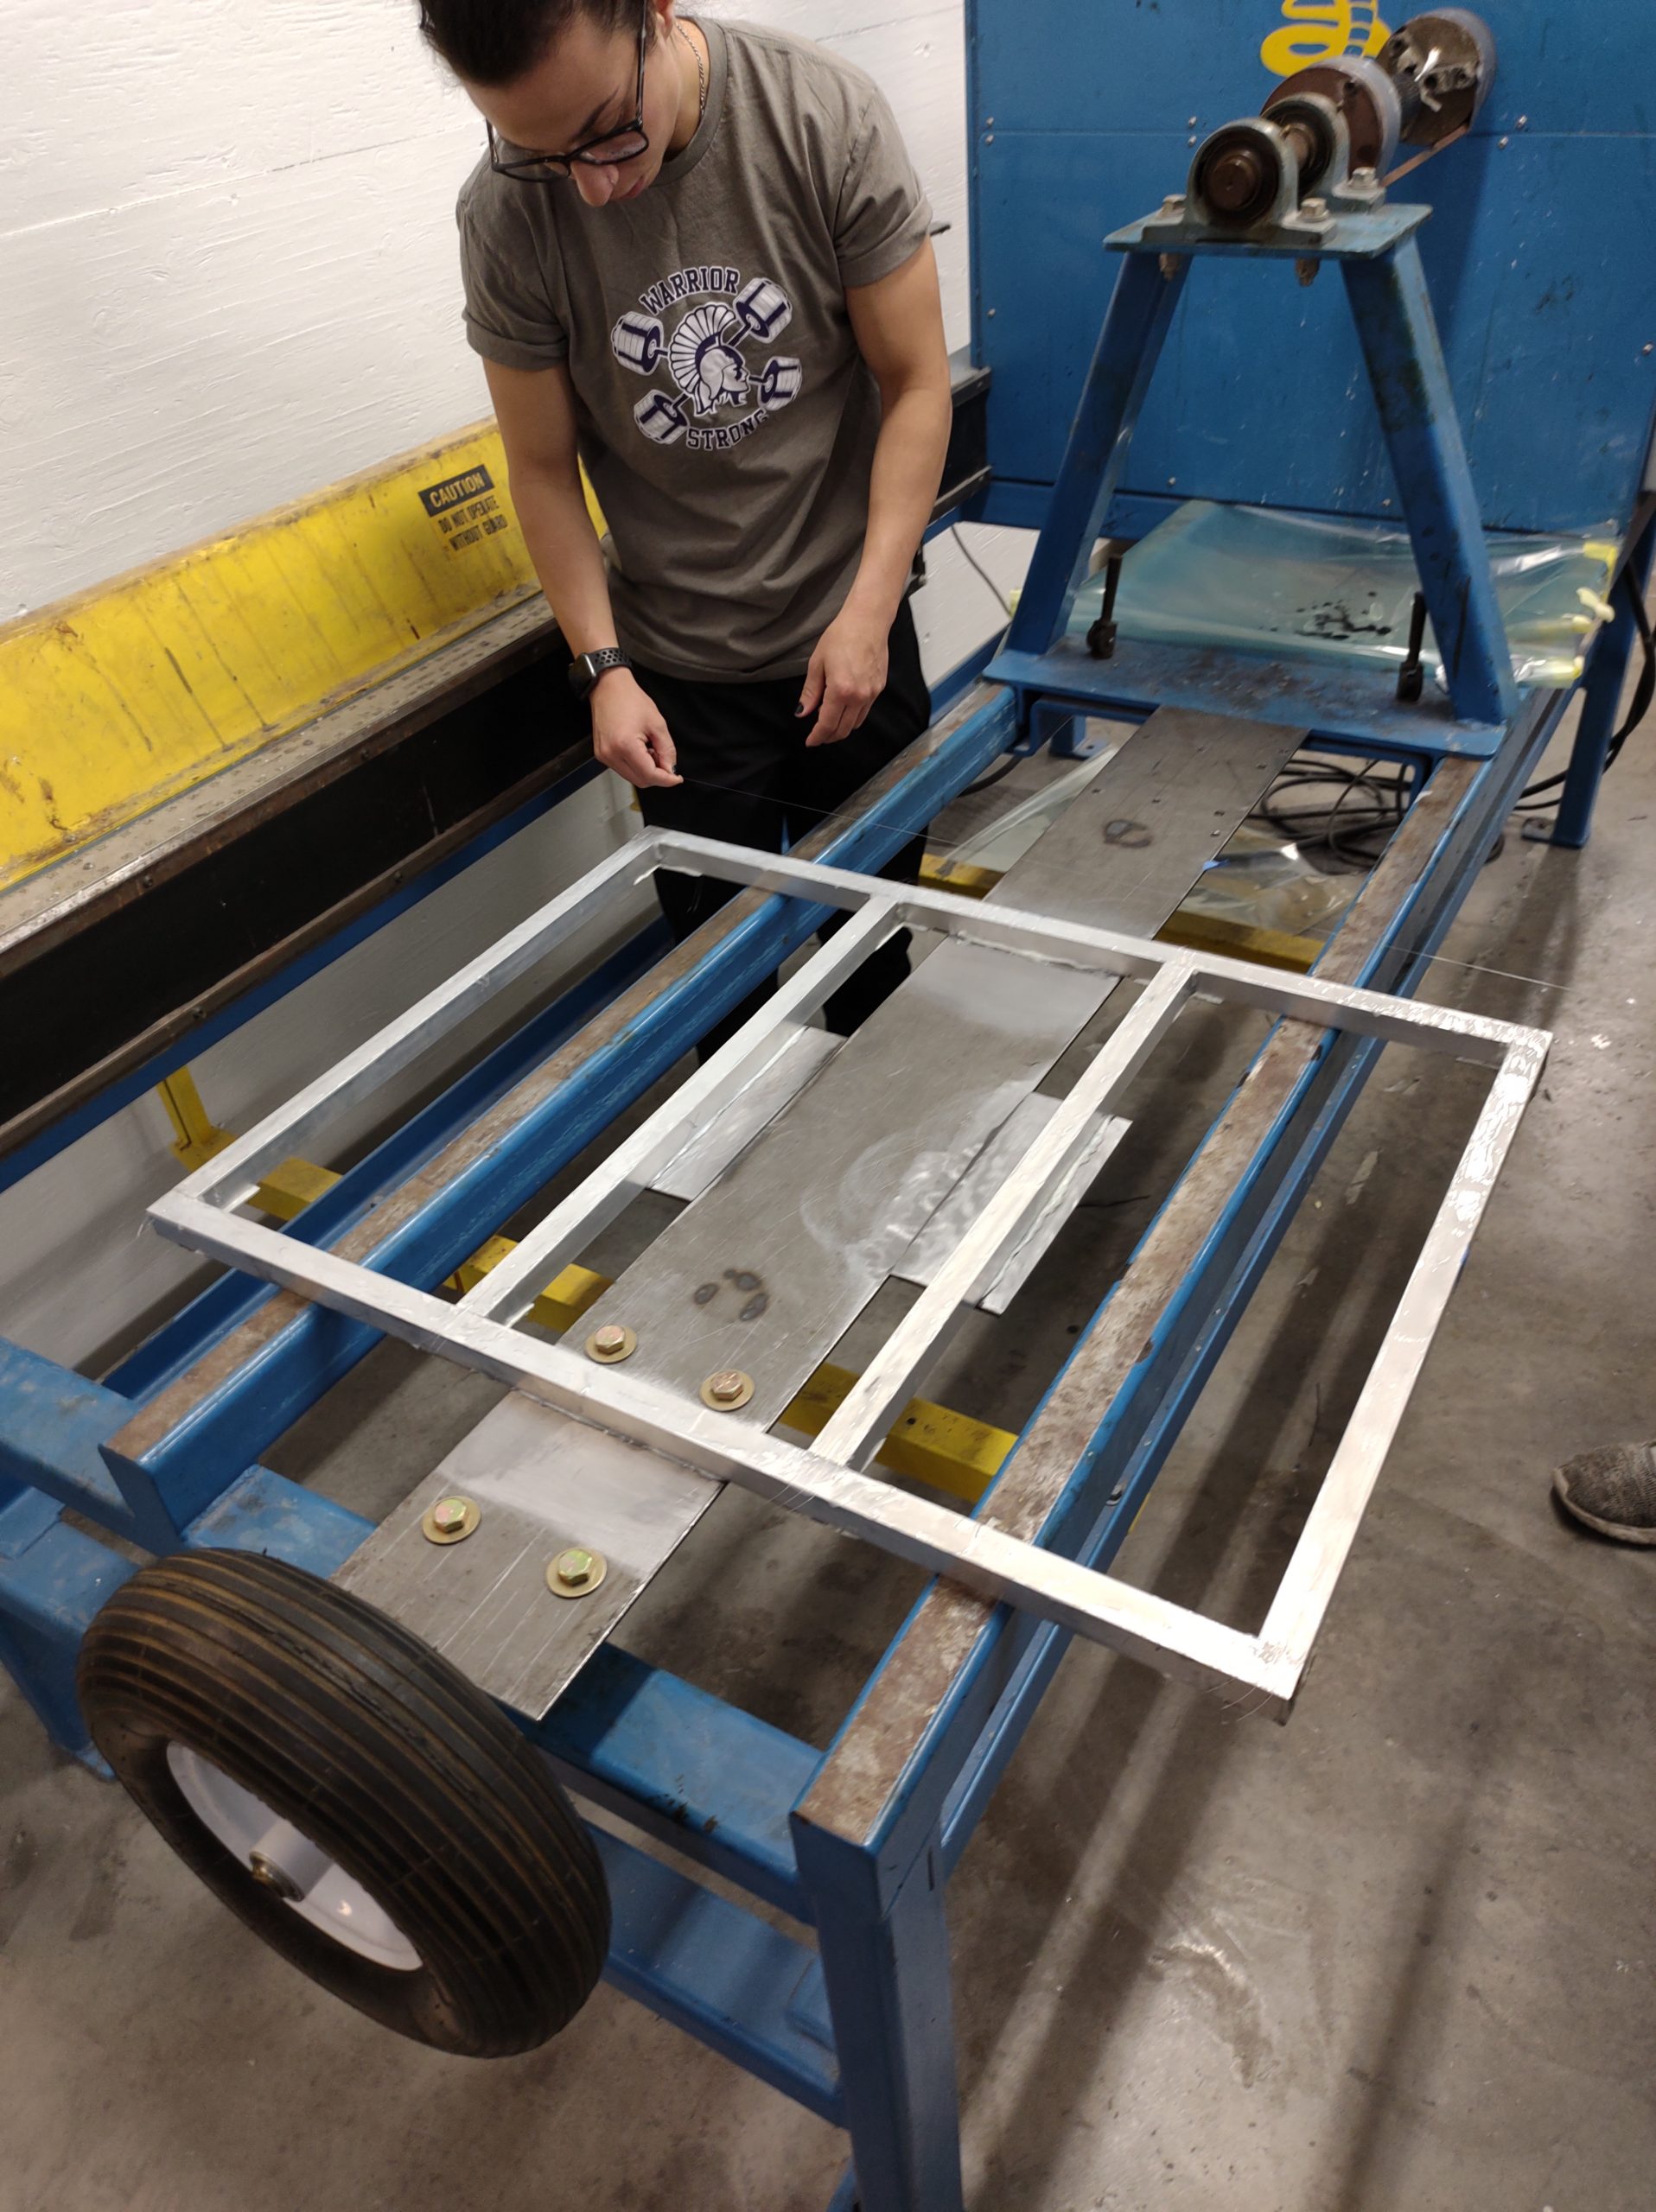
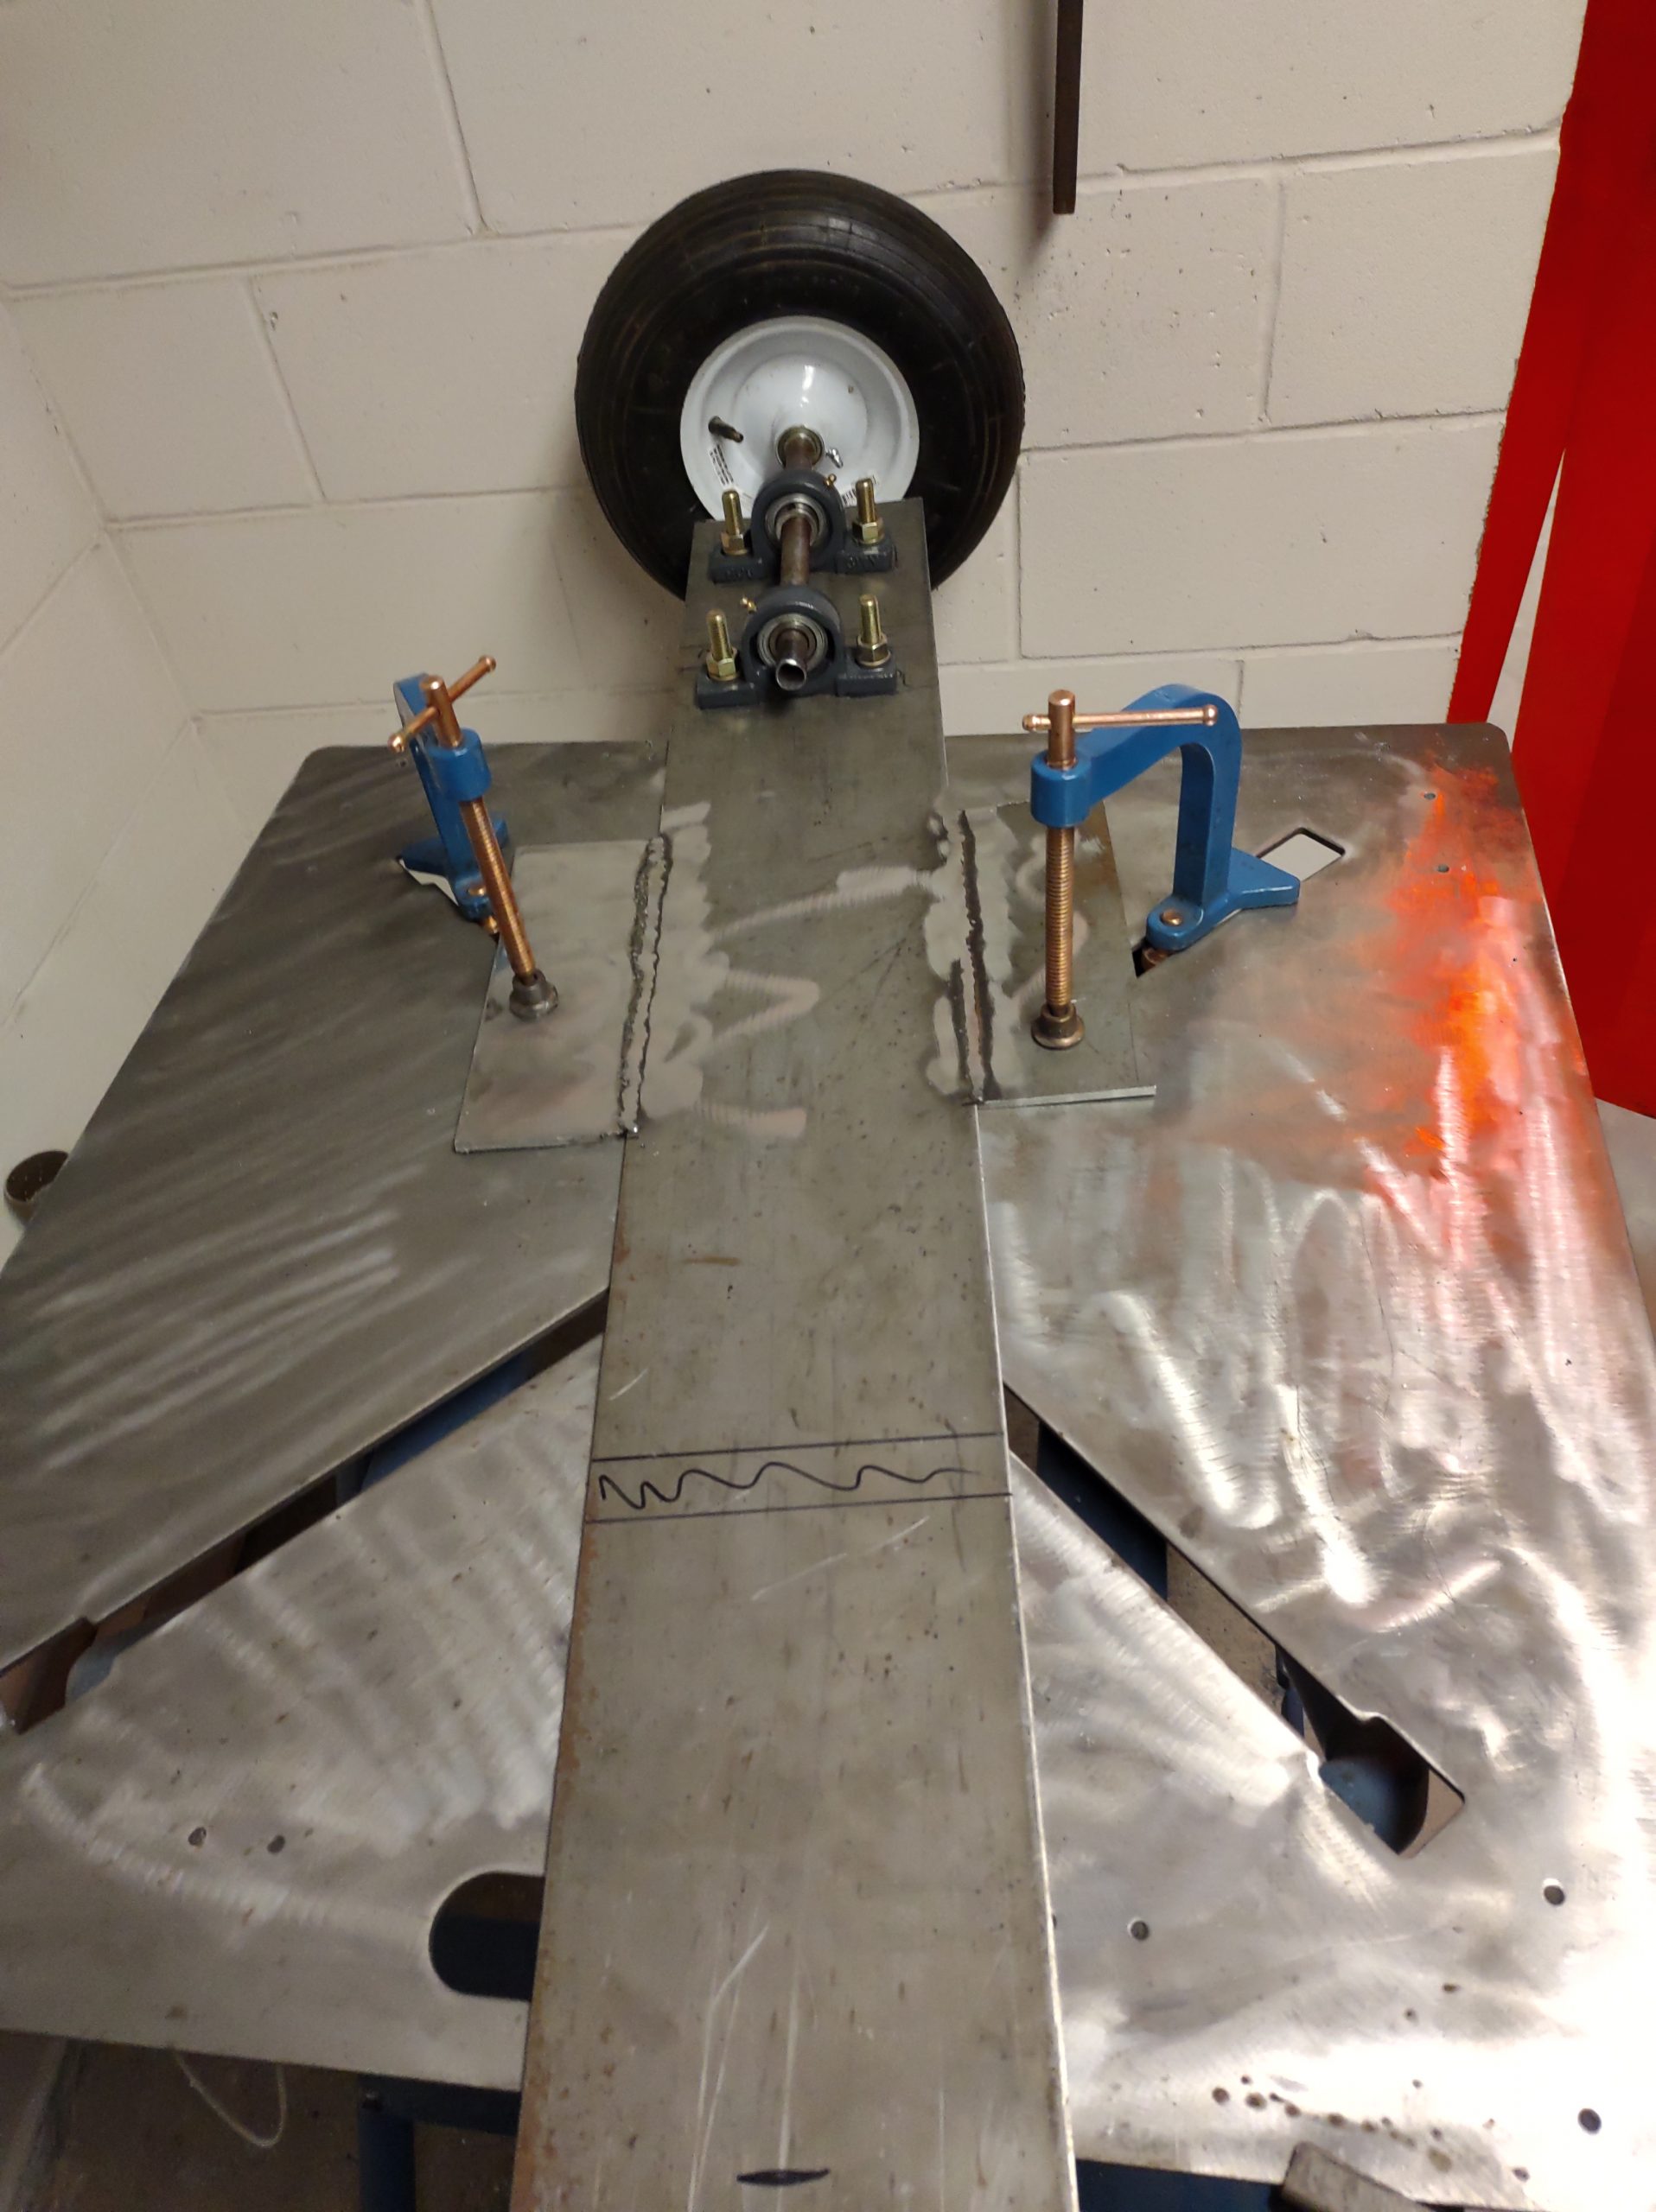
Framing and attachment
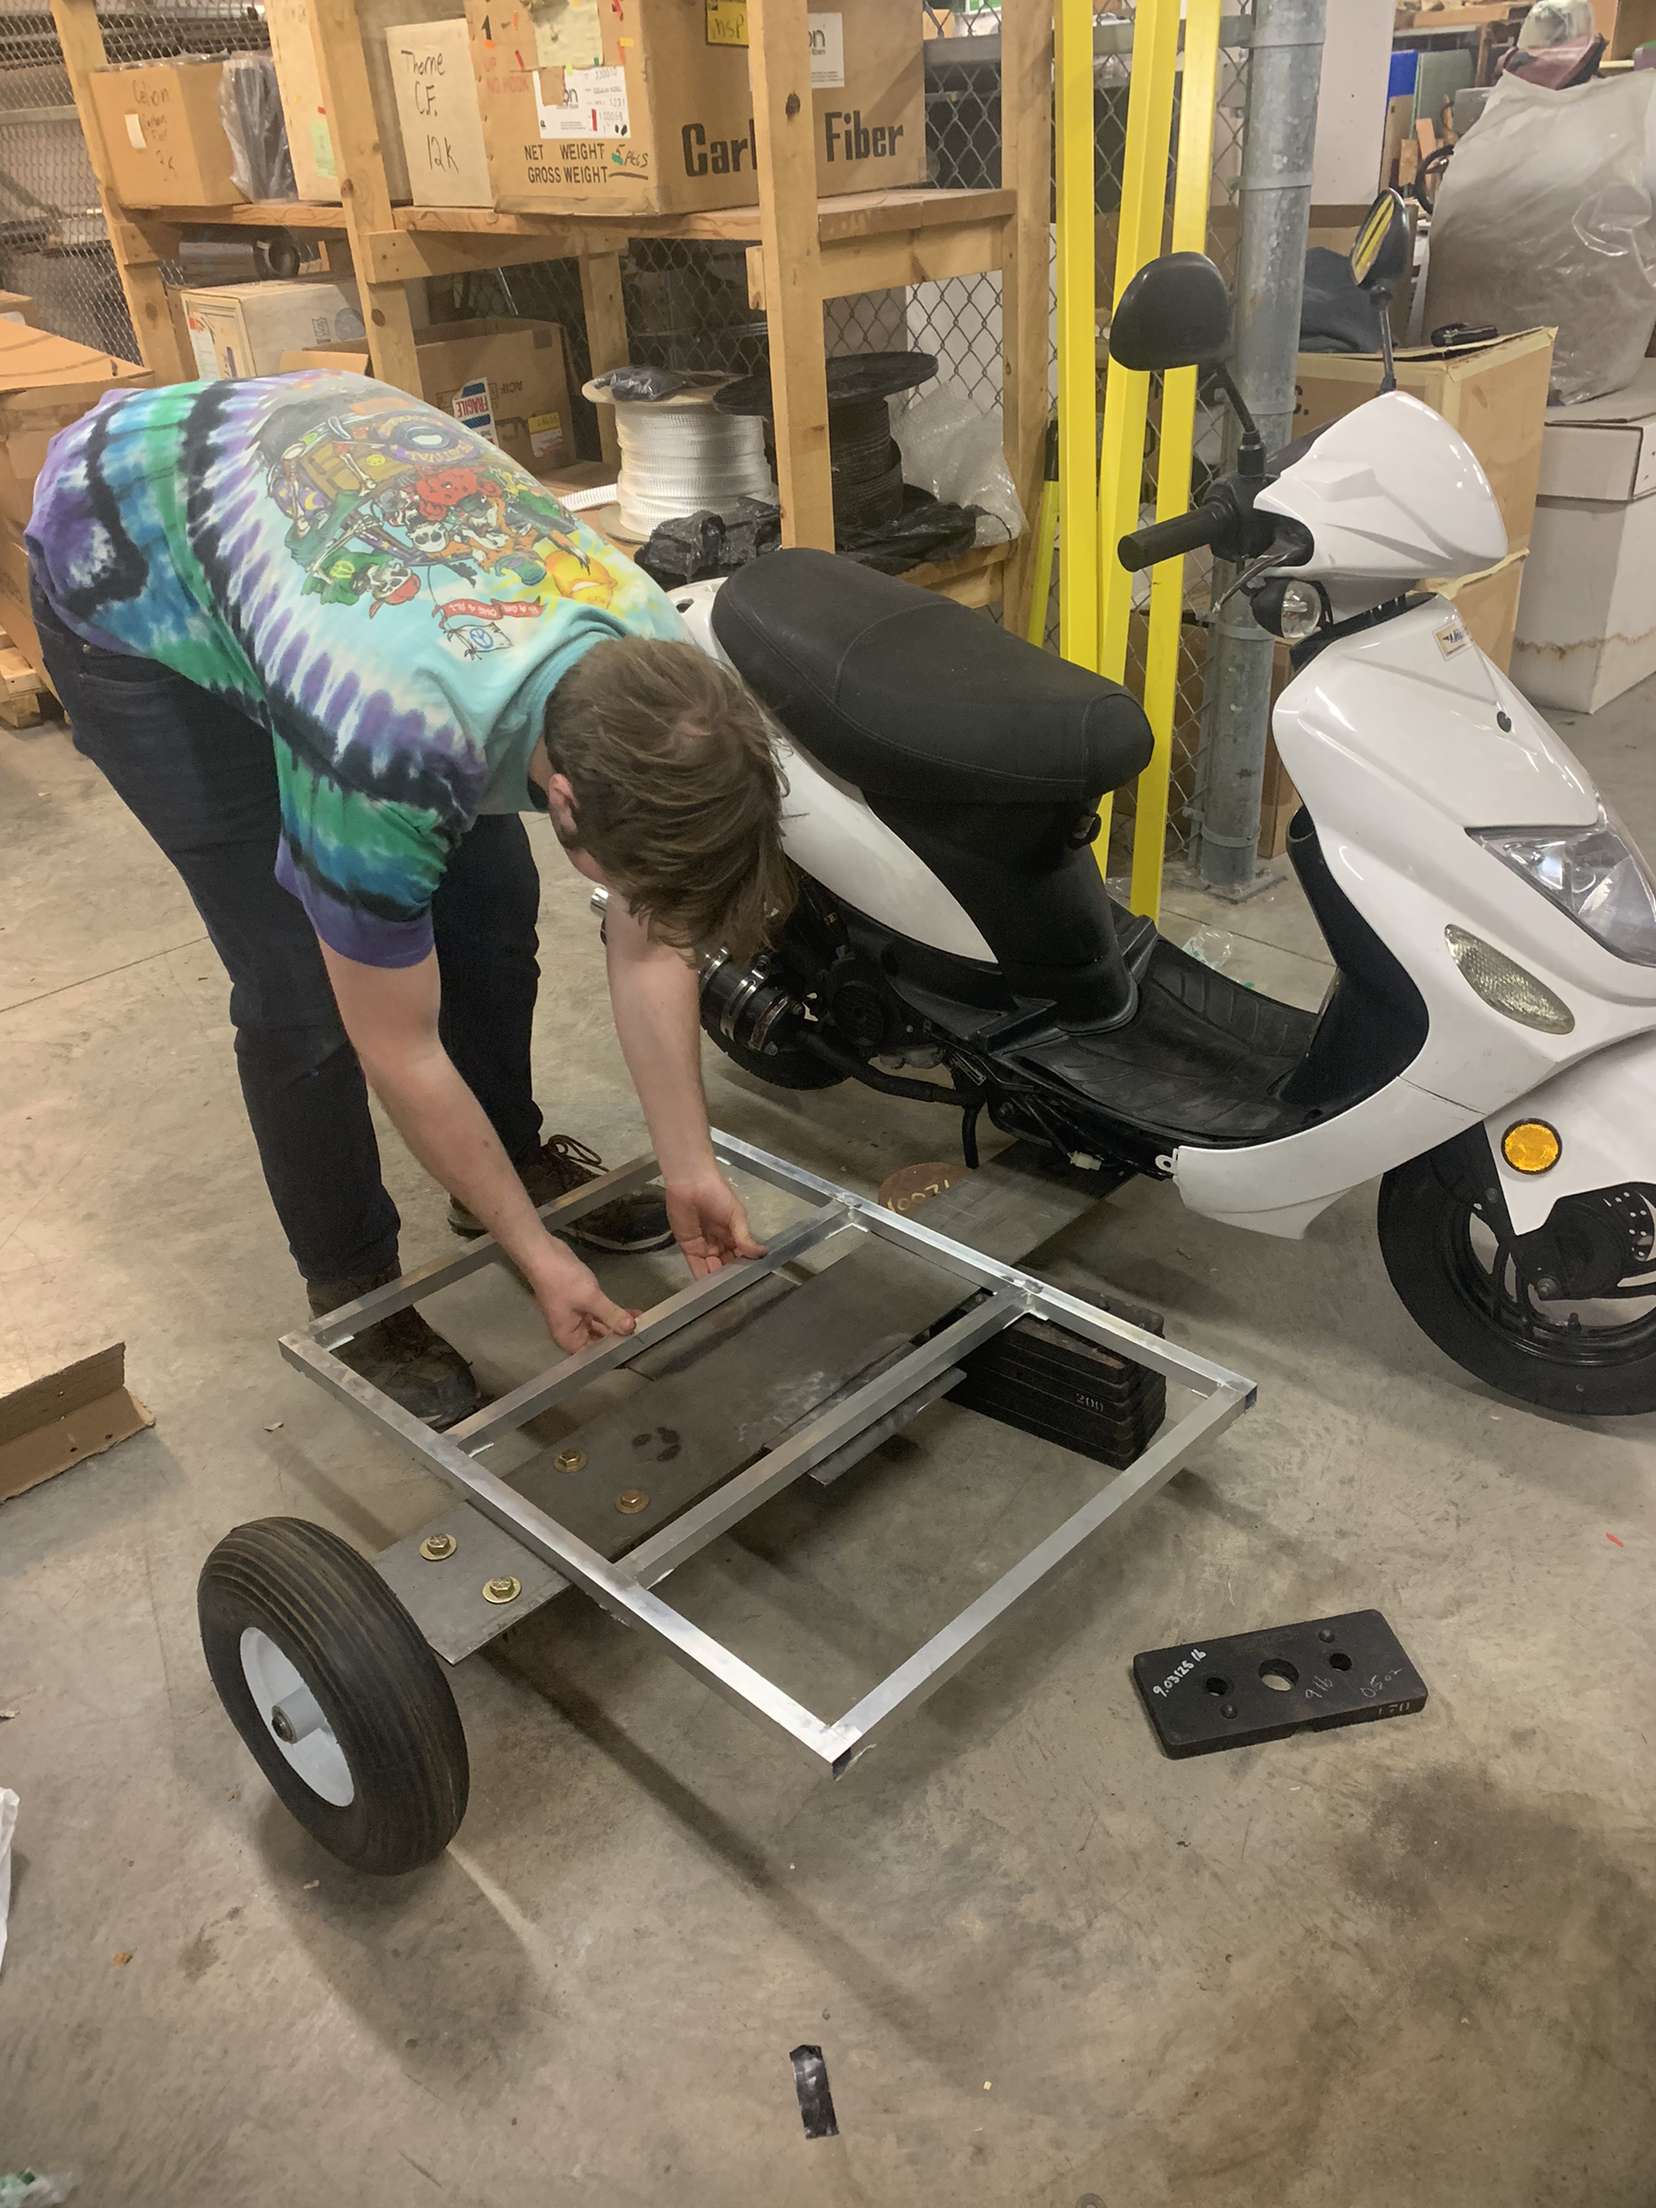
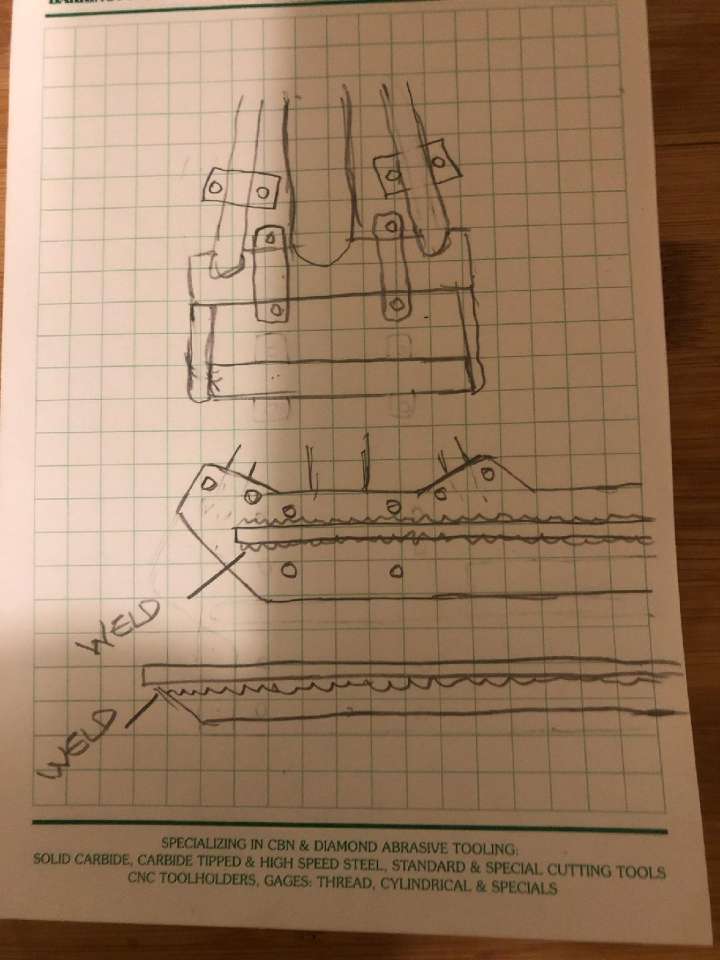
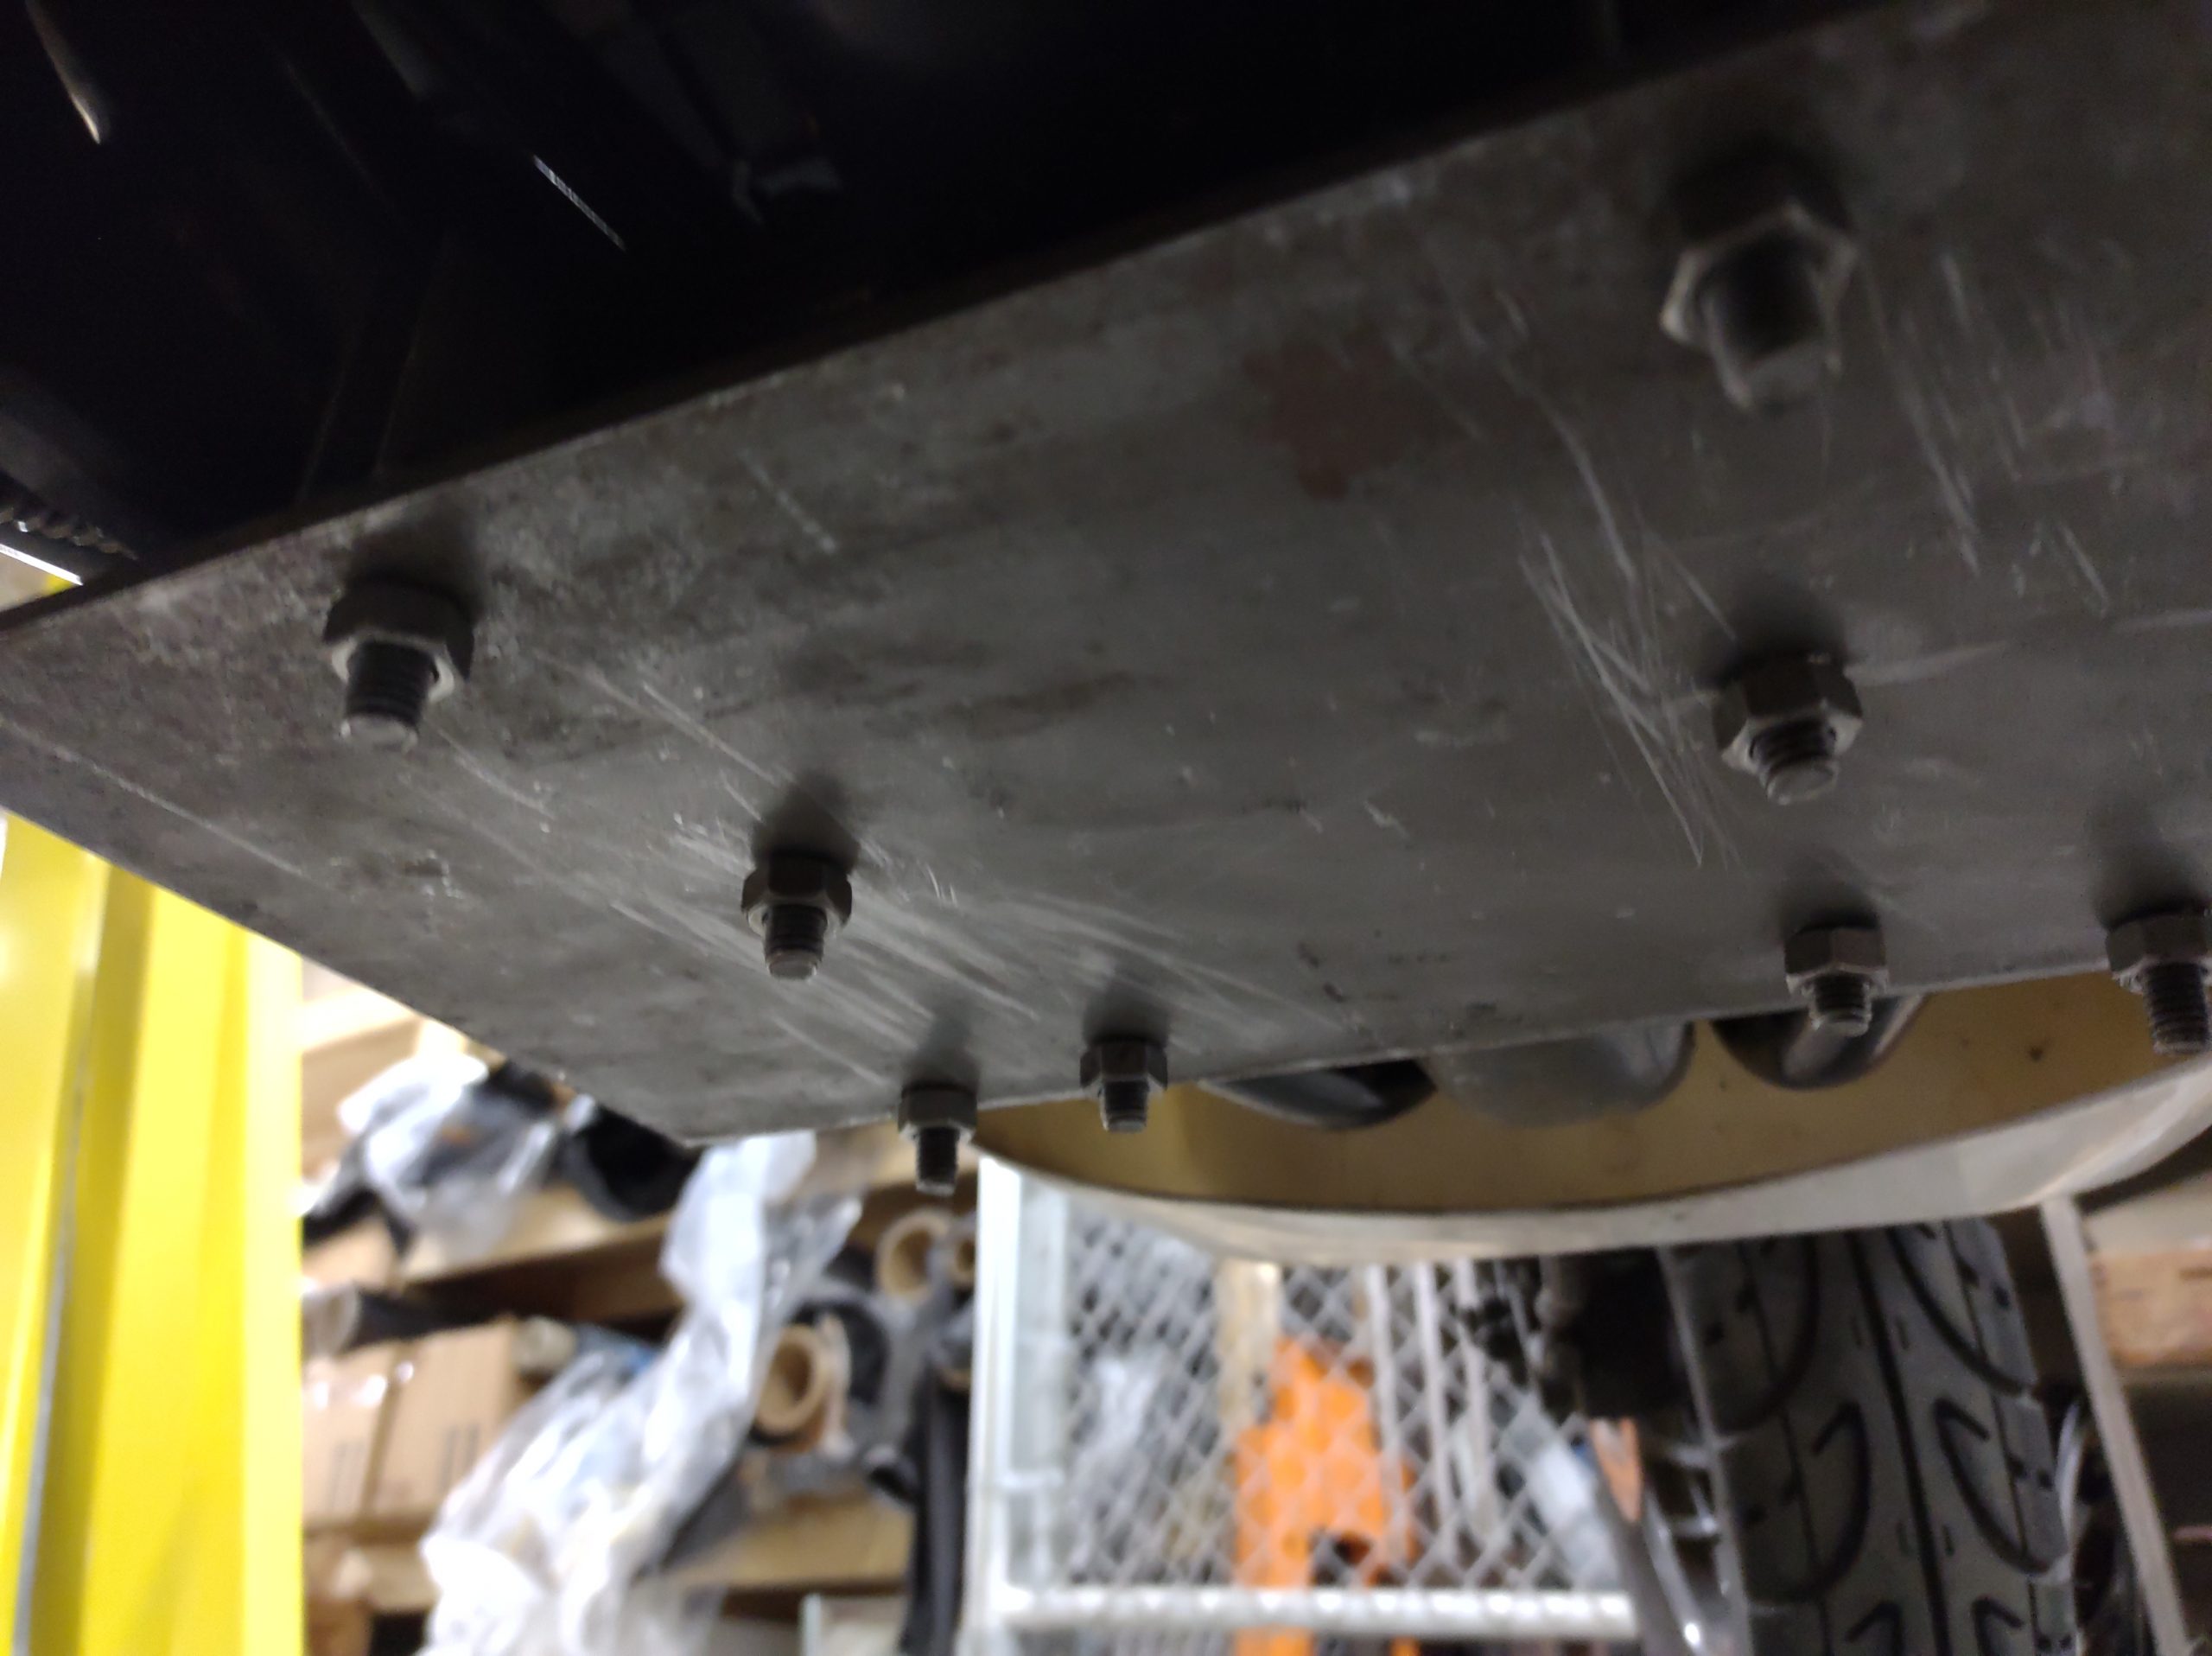
The frame was constructed with aluminum bar stock and a steel connecting plate. They were assembled together with adhesive and mechanical fasteners. The end of the steel plate which attaches to the 50cc motor scooter was designed and machined to accommodate U-bolt and Saddle connectors for ease of assembly and disassembly.
Utilizing A Scale Model
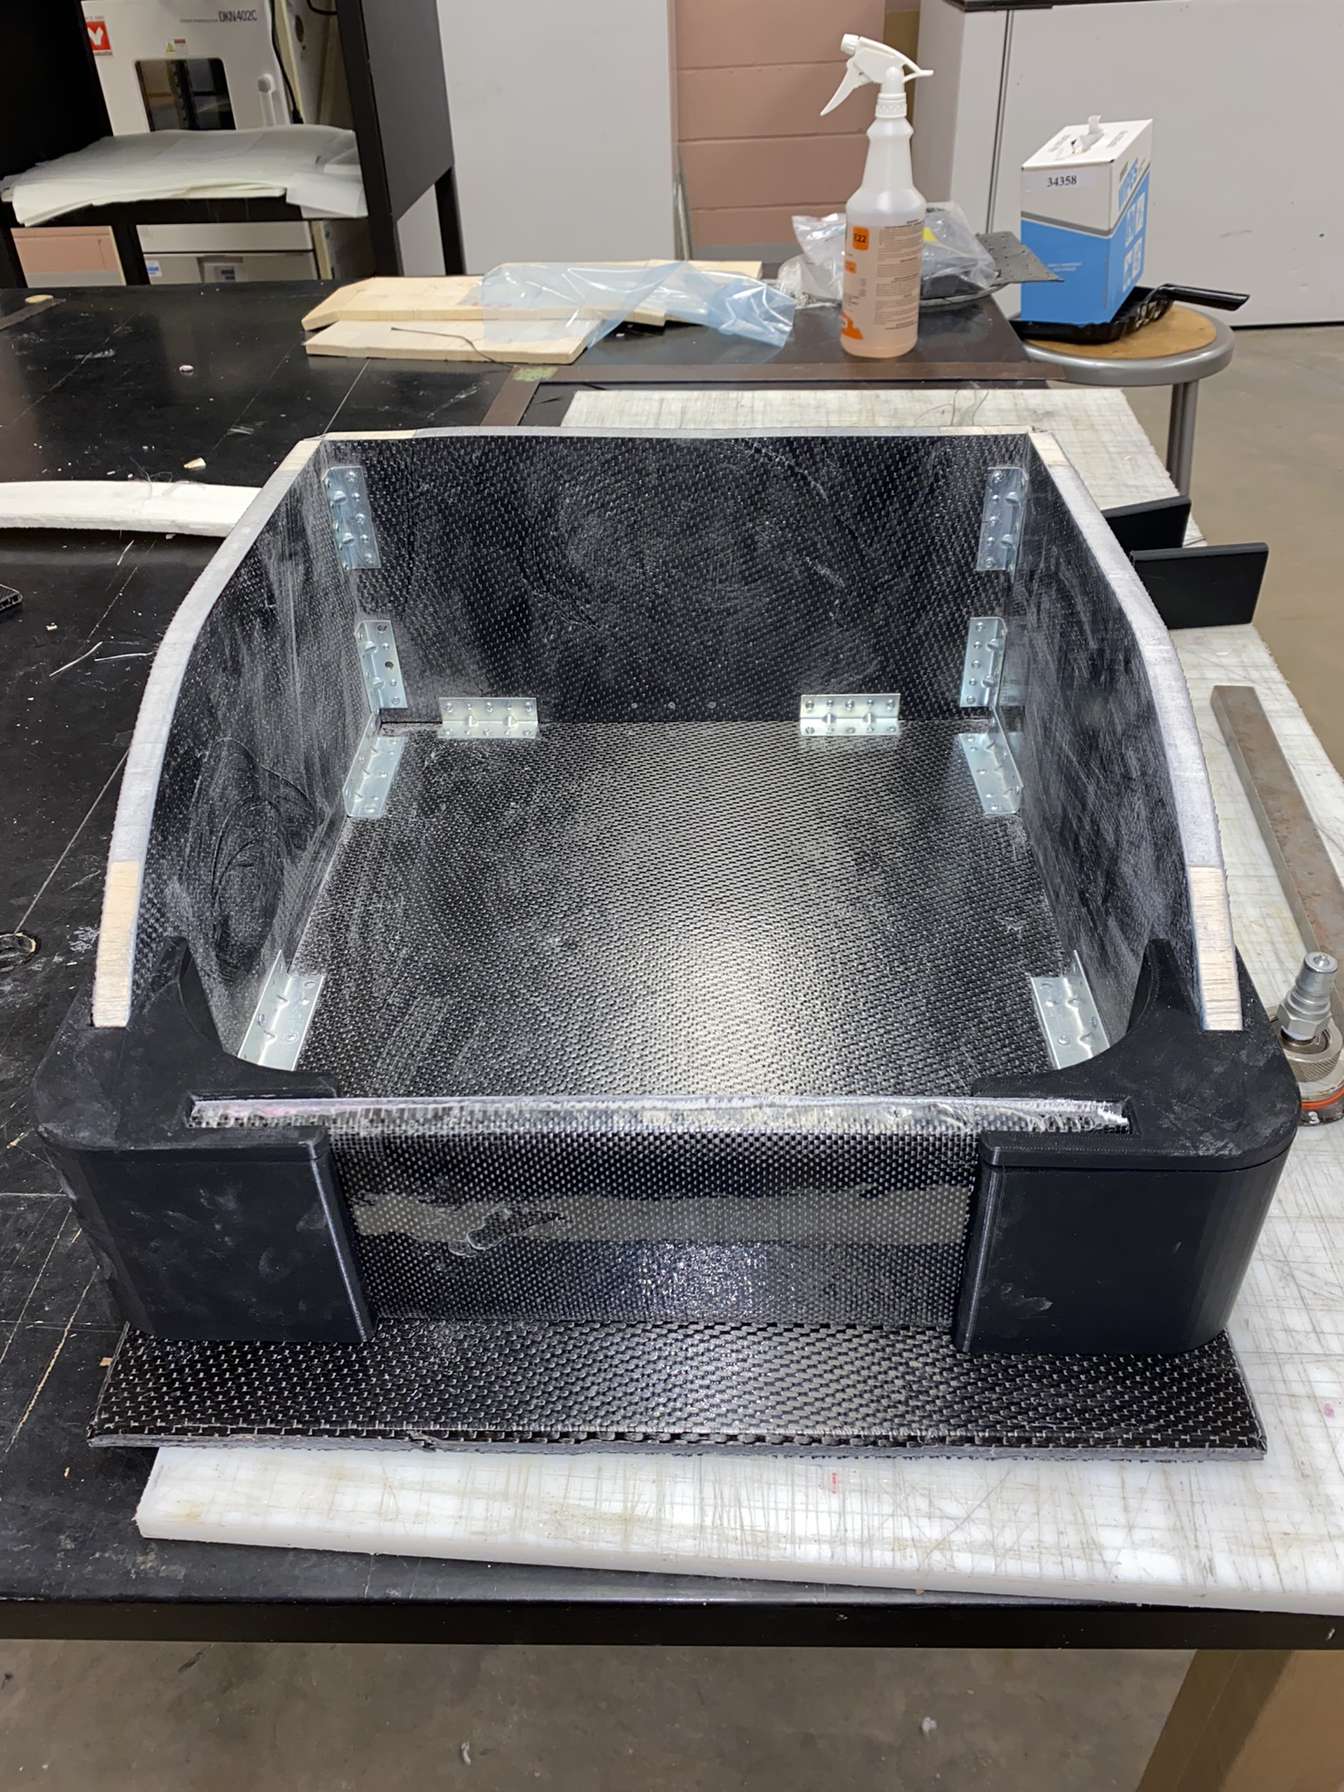
A scale model was put together using sample parts in order to practice our manufacturing method and prepare for any challenges they may arise before final manufacture and assembly of parts was performed.
Final Assembly
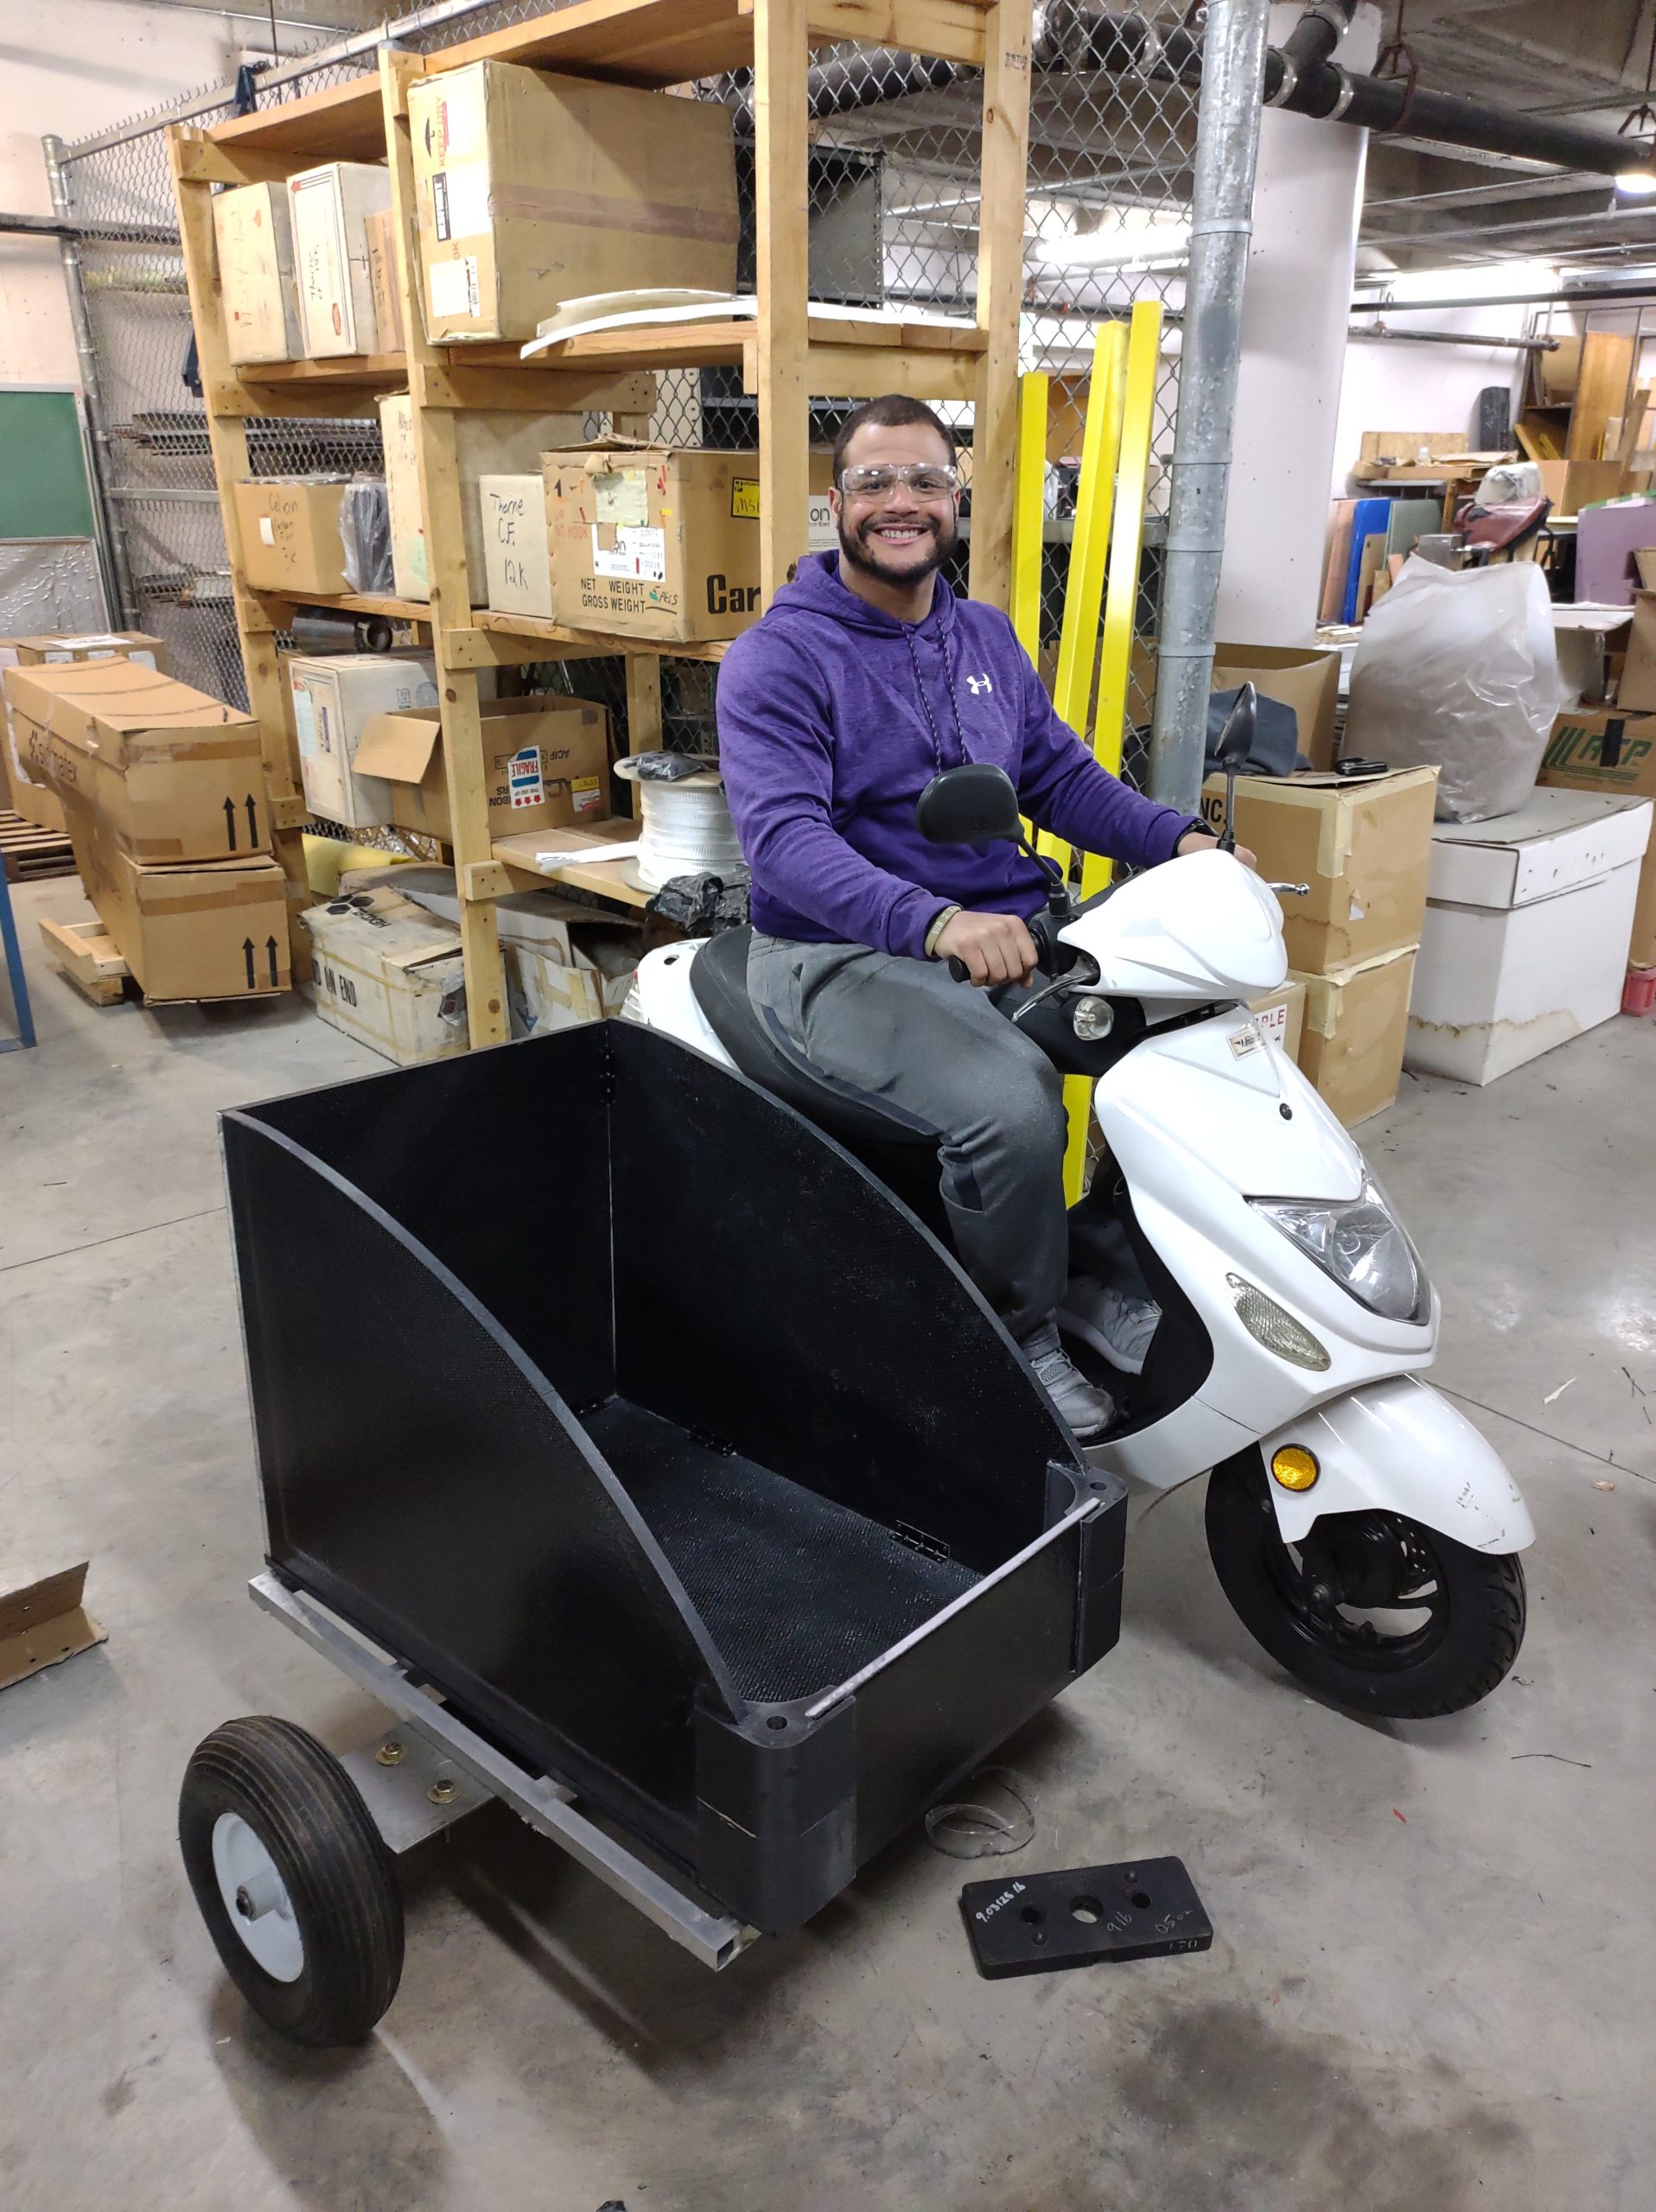
All panels and frameing were assembled with a 2 part epoxy adhesive and mechanical fasteners.
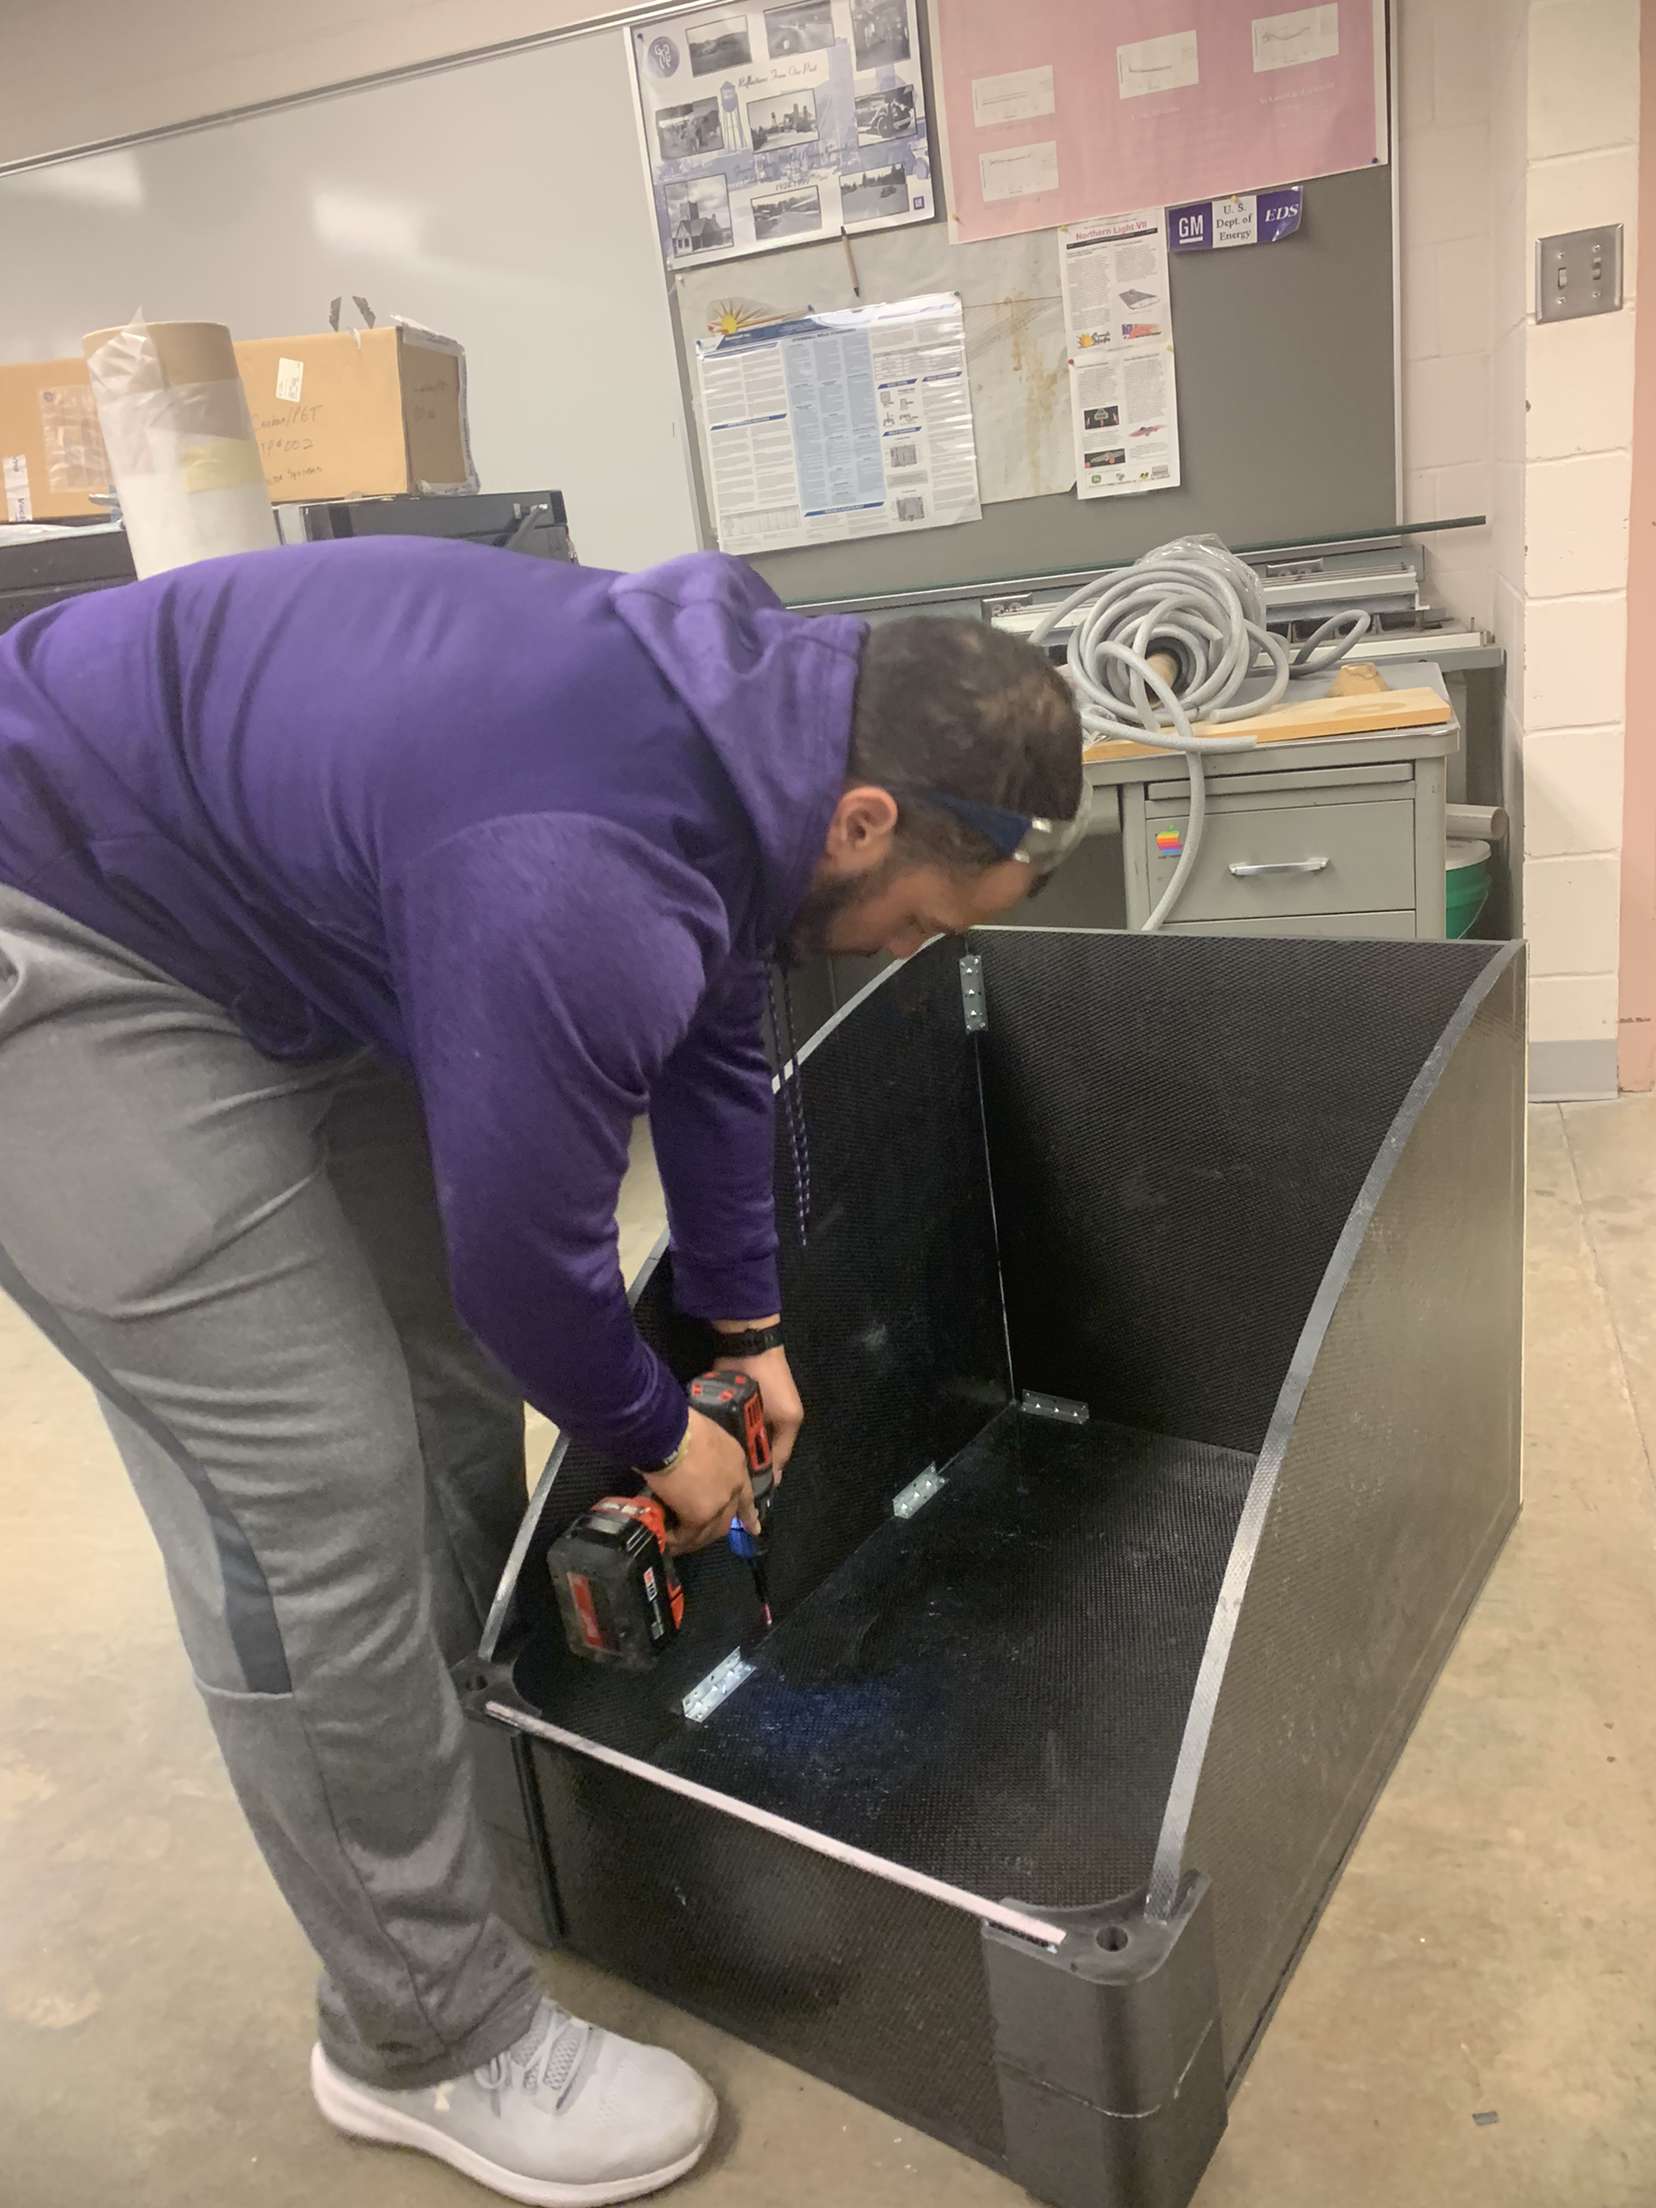
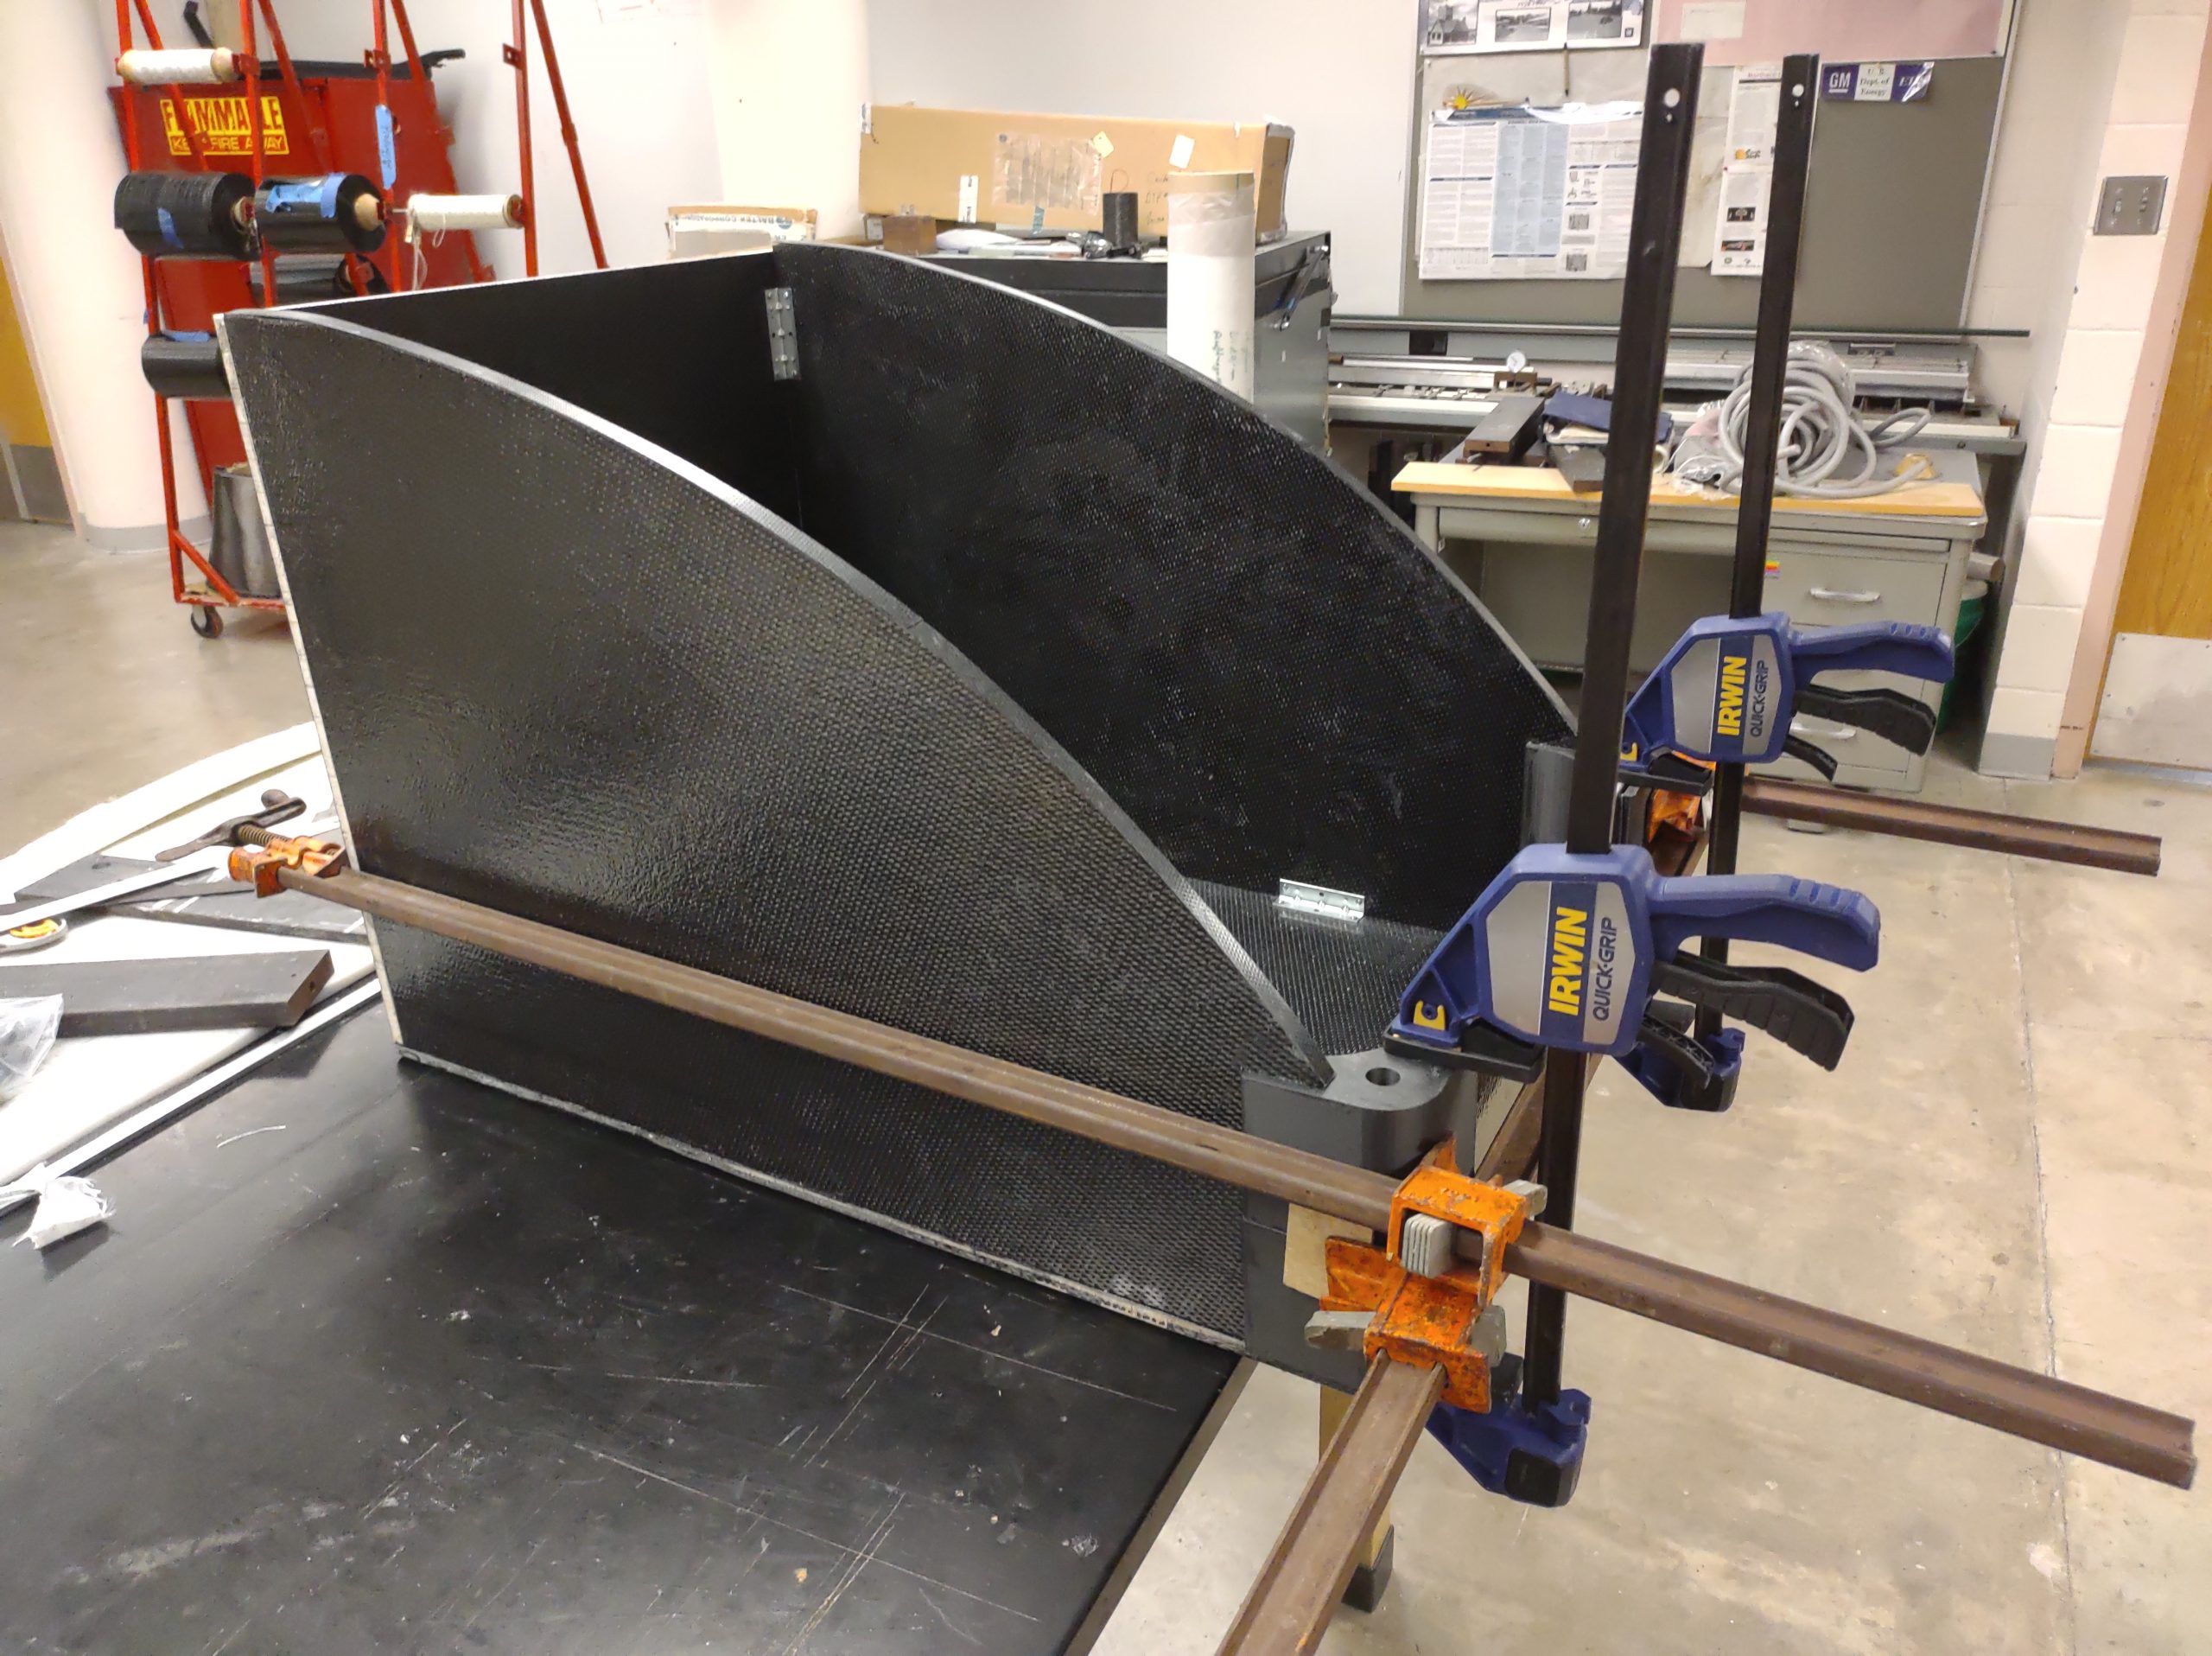
To the right is a completed assembly of the sidecar
